
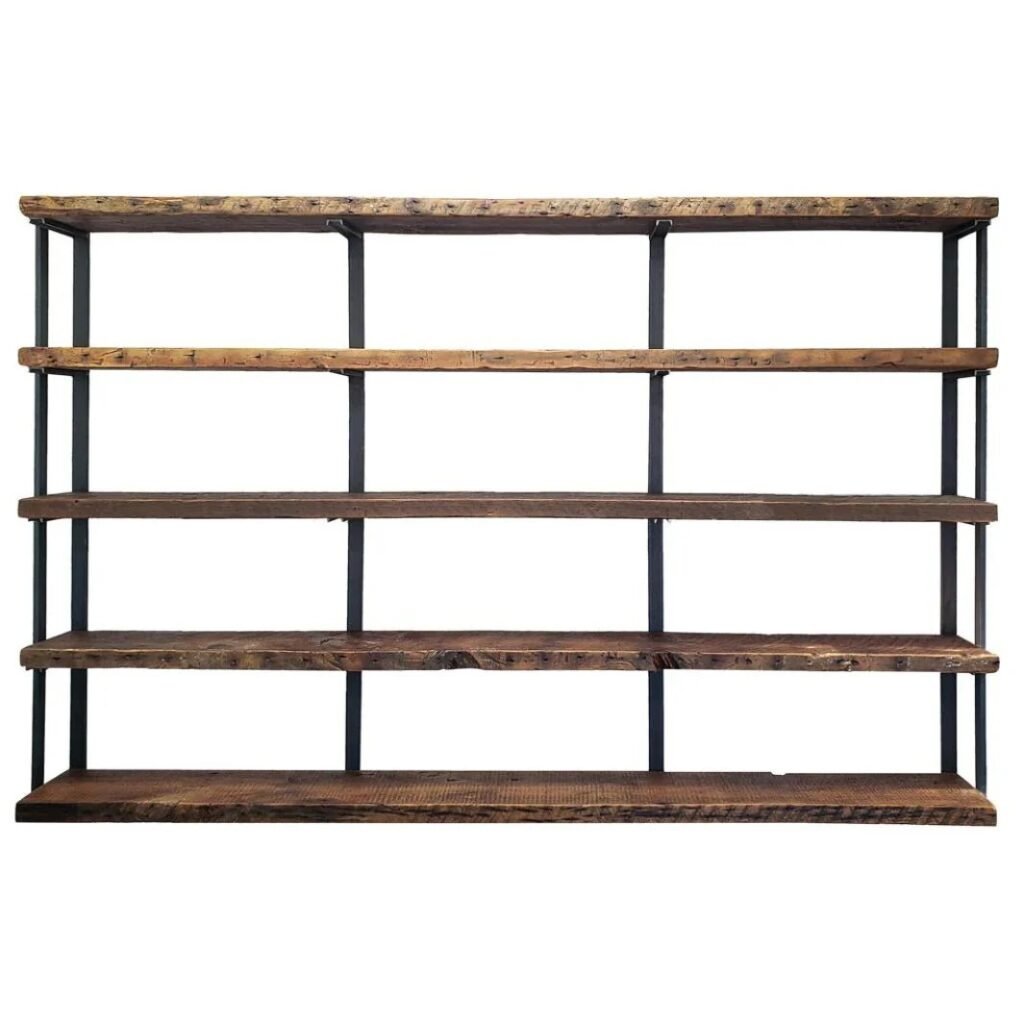
My first attempt at this went badly. I screwed a board straight into drywall, no stud, no anchor, nothing, and within a few weeks it was hanging at a weird tilt with a stack of paperbacks about to slide right off. So take it from someone who did it wrong first: putting up wall mounted shelves isn’t hard, but there are a couple of things you really can’t skip.
Why Choose Wall Shelves Over a Bookcase
Honestly, a lot of people are moving away from bulky furniture toward shelving wall mounted setups just because floor space is at a premium these days, especially in apartments. A shelf on the wall doesn’t take up any footprint. It’s also kind of why modular furniture has gotten so popular — you can add pieces as you go instead of committing to one big unit that you’re stuck with for the next ten years.
There’s a look to it too. A plain wall shelf can basically disappear into a room if you go with white wall shelves, or it can be the thing that gives the room warmth if you go to wooden wall shelves instead. Either way it’s doing more than just holding stuff.
Step 1: Decide What the Shelf Needs to Hold
Before you touch a drill, think about what the shelf needs to hold. Books are heavy — heavier than people expect until they’ve got twenty of them lined up. A couple of photo frames or a plant, not so much. I’d sketch the wall out, even roughly, and mark where things go. People tend to space shelves too close together and then wonder why nothing fits once it’s all up.
Step 2: Find the Wall Studs
This is the step that gets skipped the most, and it’s the one that matters most. Drywall alone won’t hold real weight no matter what anchor you use — you need the wood stud behind it. Run a stud finder across the wall and mark the centers in pencil. No stud finder? Tap the wall and listen — hollow versus solid, you can hear the difference if you pay attention. Studs are usually 16 inches apart, so once you find one you can guess the rest pretty reliably.
Step 3: Choose the Right Bracket
A wall-mounted shelf bracket is what’s actually holding everything up, so don’t cheap out here. There’s a few routes:
- L-brackets. Visible, sturdy, forgiving if your stud spacing is a little off. More of an industrial look.
- Floating brackets. Hidden inside the shelf, cleaner look, but you need to drill more precisely since it has to line up inside a hollow channel in the shelf itself.
- Decorative brackets — iron or carved wood, meant to be seen. These lean farmhouse or rustic.
Pick whichever matches the weight you’re hanging and the look you’re going for. Don’t just grab whatever’s cheapest at the hardware store.
Step 4: Mount the Brackets and Attach the Shelf
Line the bracket up with your stud marks, check it with a level, then pre-drill pilot holes before you drive any screws in. Skipping pilot holes is how wood splits and screws end up crooked. If there’s no stud right where you need one, a rated heavy-duty anchor can work as backup — it just won’t hold quite as much weight as a stud would.
Once the brackets are in and solid, set the shelf on top and fasten it however the hardware calls for. Some screw up from underneath, some slide onto a mounting plate. Check the level one more time once it’s attached — even a slight tilt becomes really obvious the moment you put something on the shelf.
What Else You Can Build With These Same Skills
Same skills carry over to bigger projects. Wall Mounted Desks use nearly identical hardware, just a wider surface and often a folding leg underneath for support. And if you like a more rustic, worn-in feel, Reclaimed Beam benches and Reclaimed Beam tables bring some character into a room — they go well with wooden shelving if you’re building out that whole salvaged-wood look.
Final Thoughts
You don’t need fancy tools for this. Find the studs, match your bracket to the weight, level everything twice. Do that and your shelf will still be holding strong long after mine gave out. Read More at https://mintpaldecor.org/