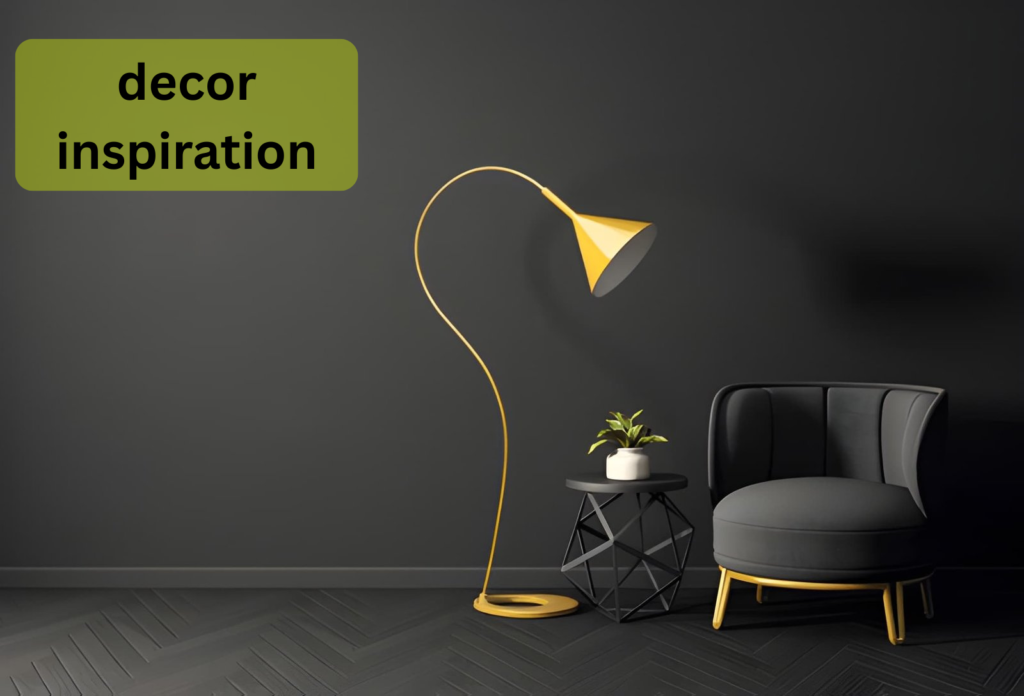
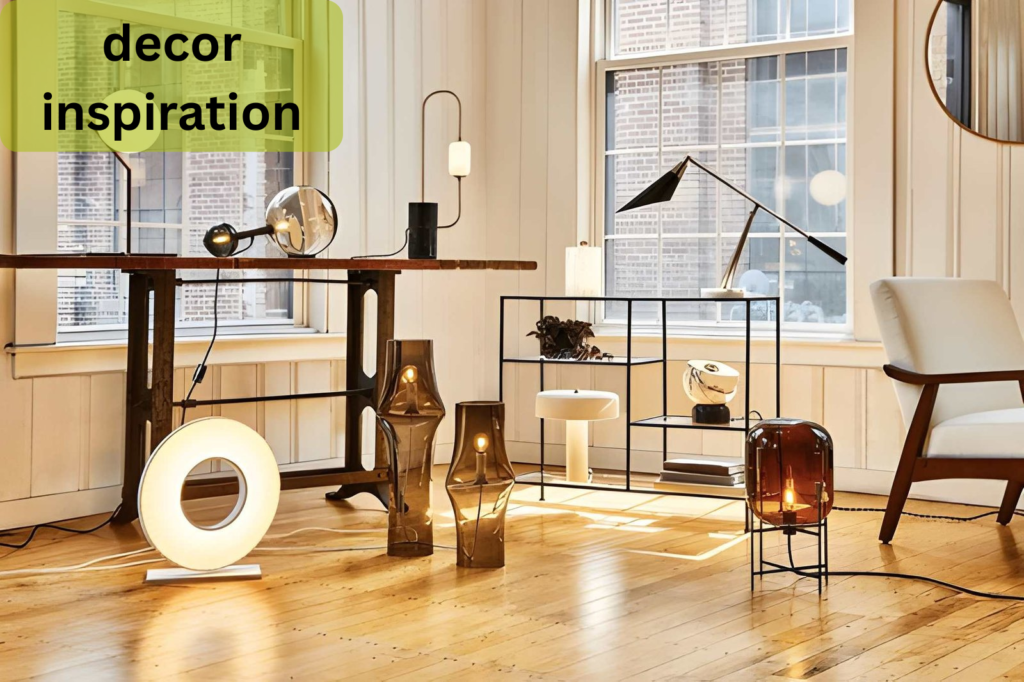
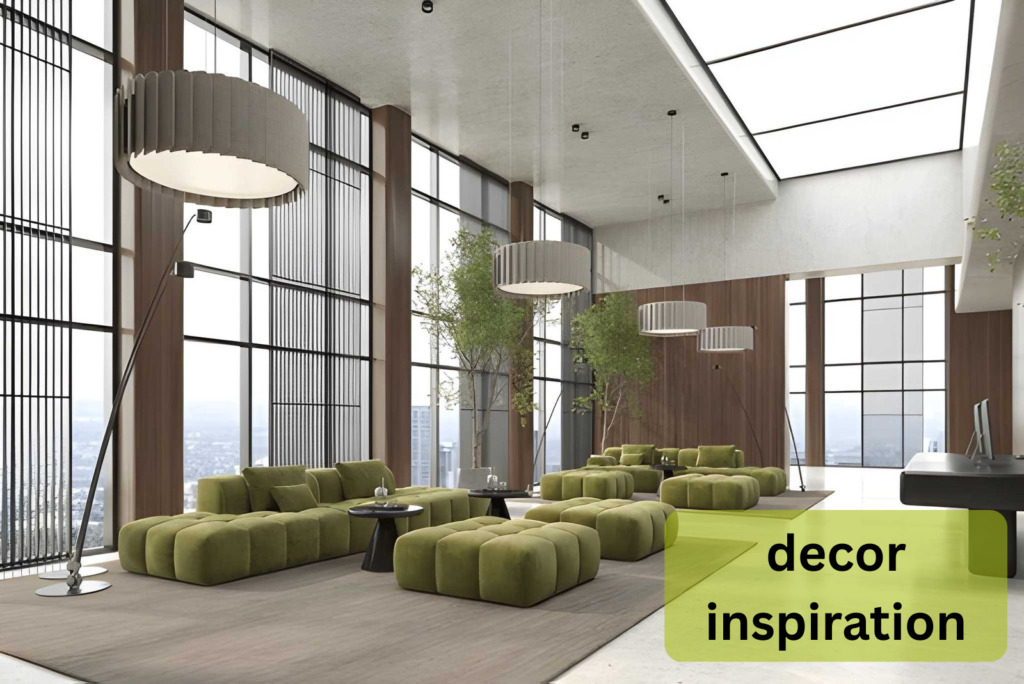
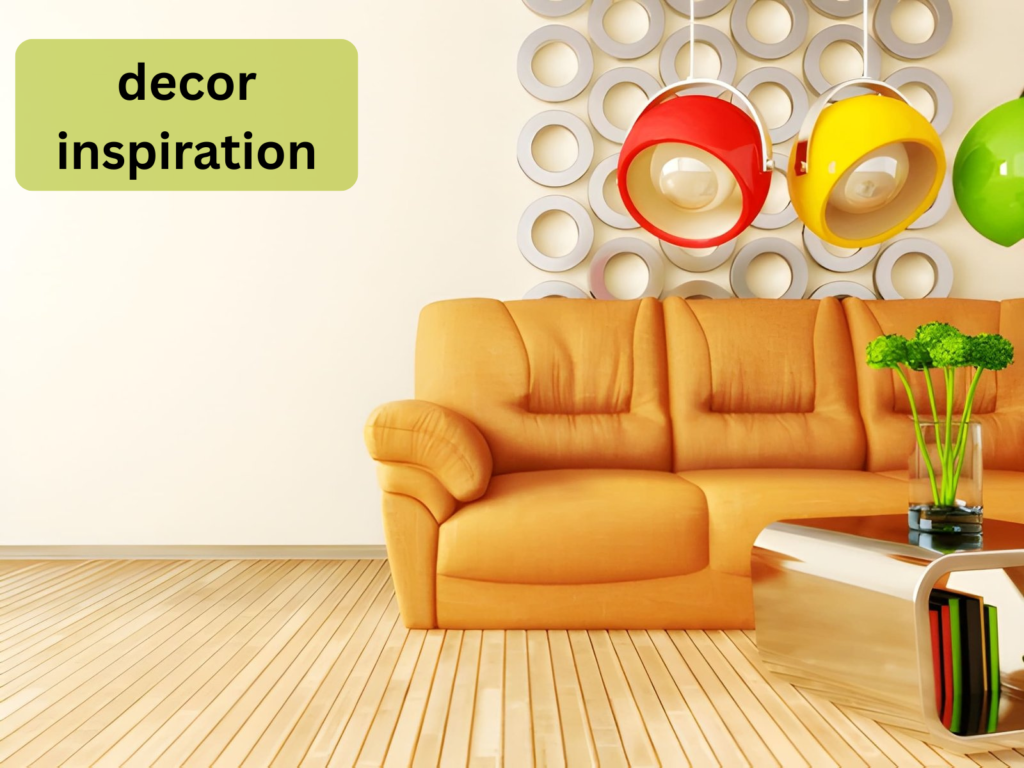
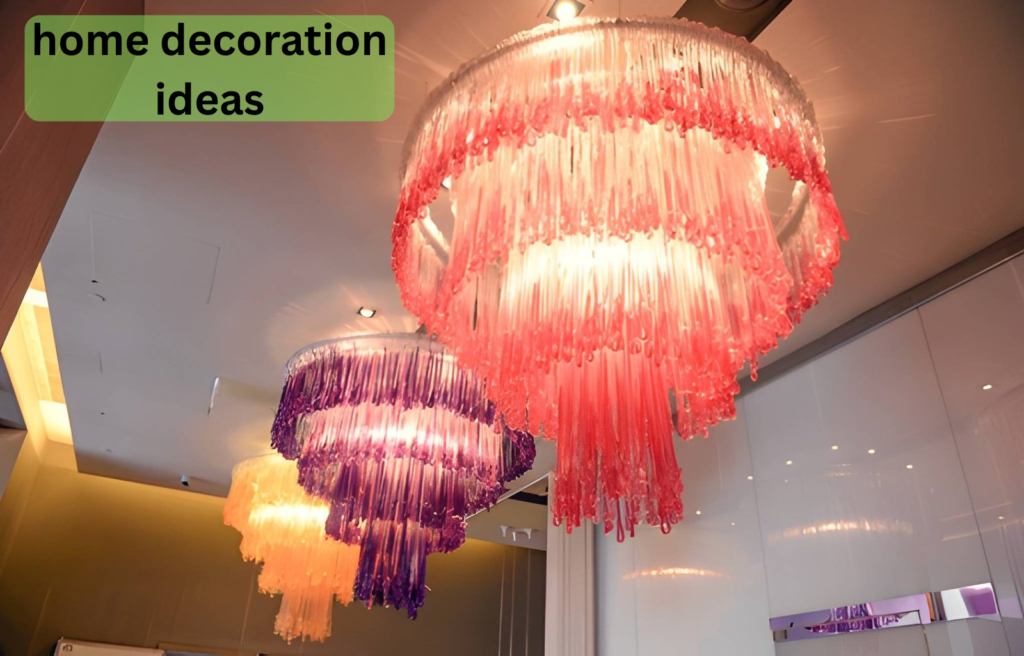
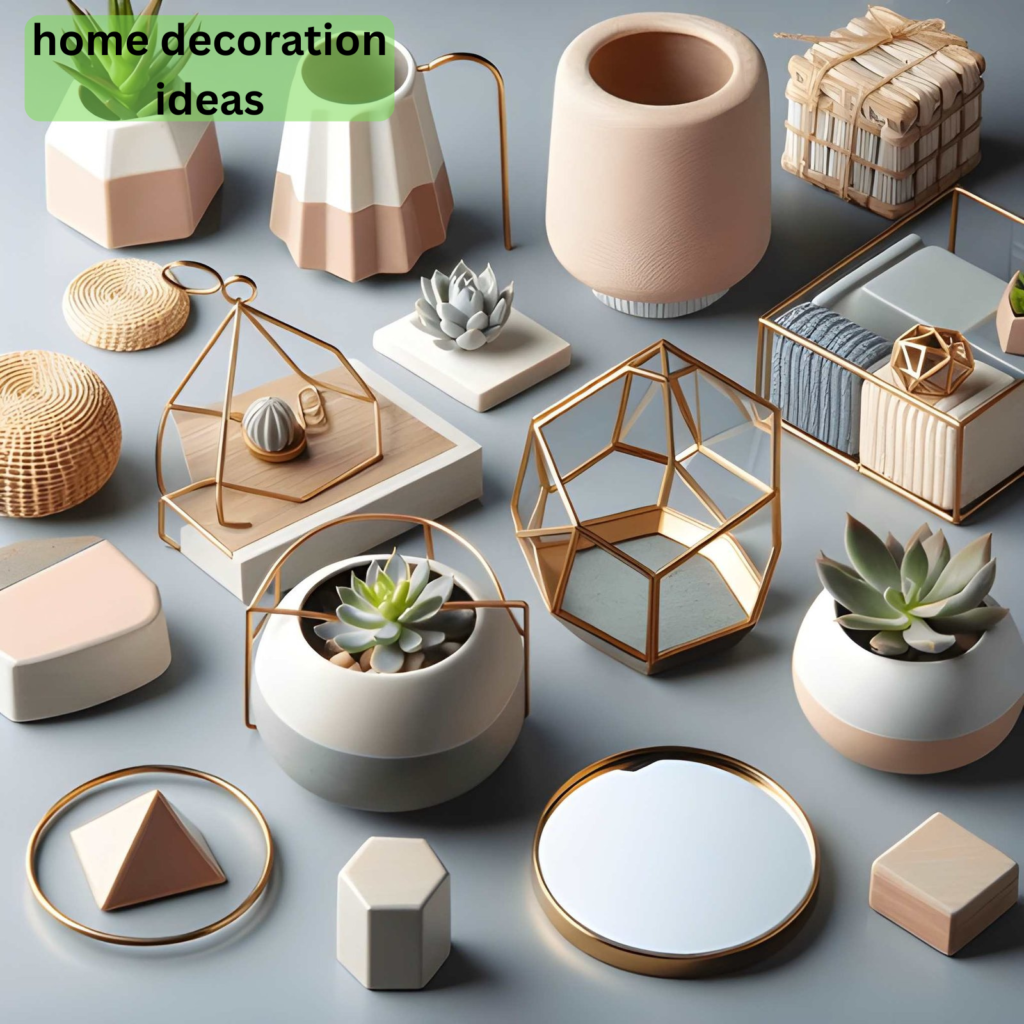
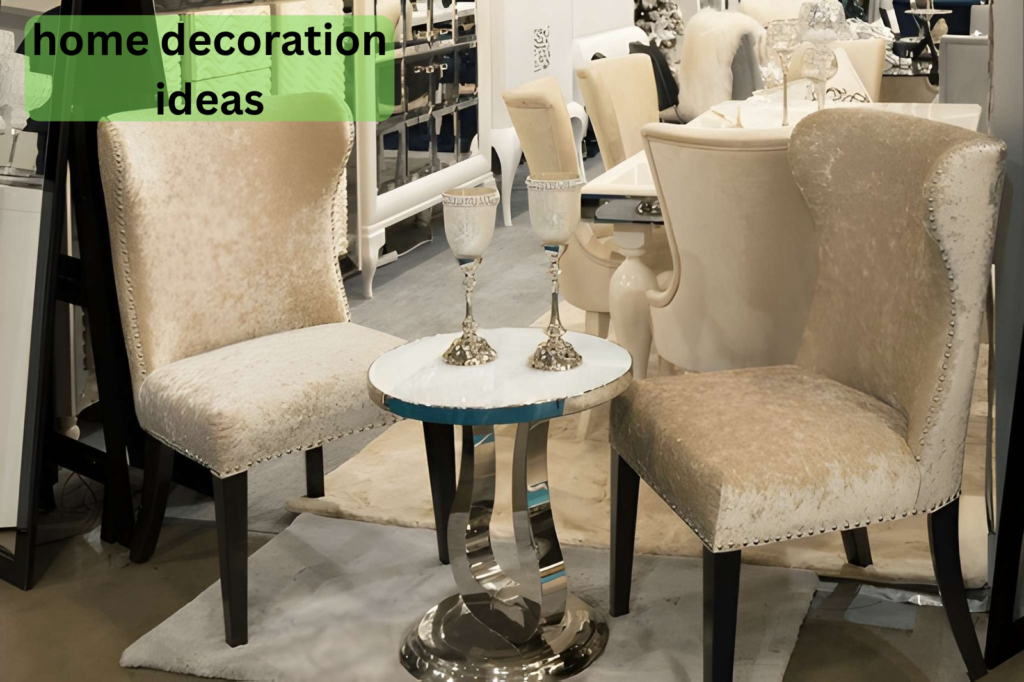
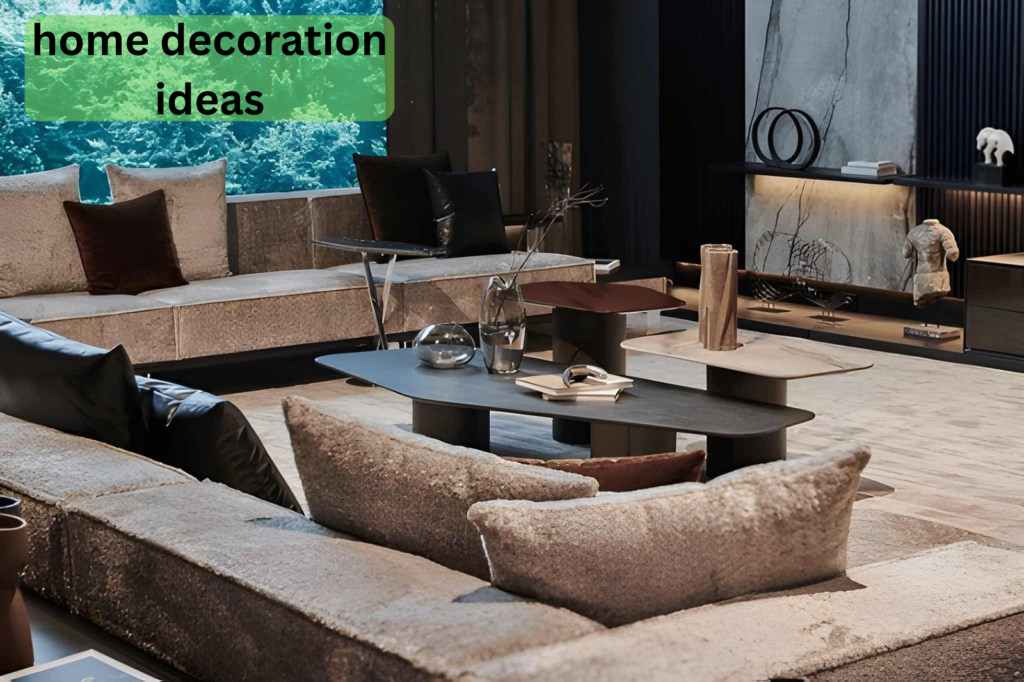
MintPalDecor delivers practical home decor inspiration, interior design ideas, and expert styling tips to help you create a beautiful and functional living space.
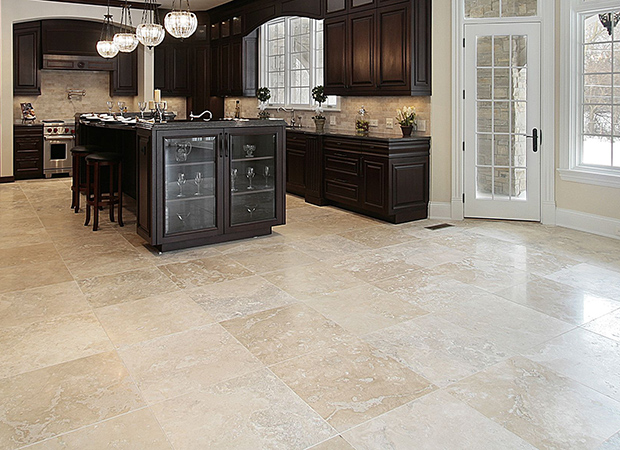
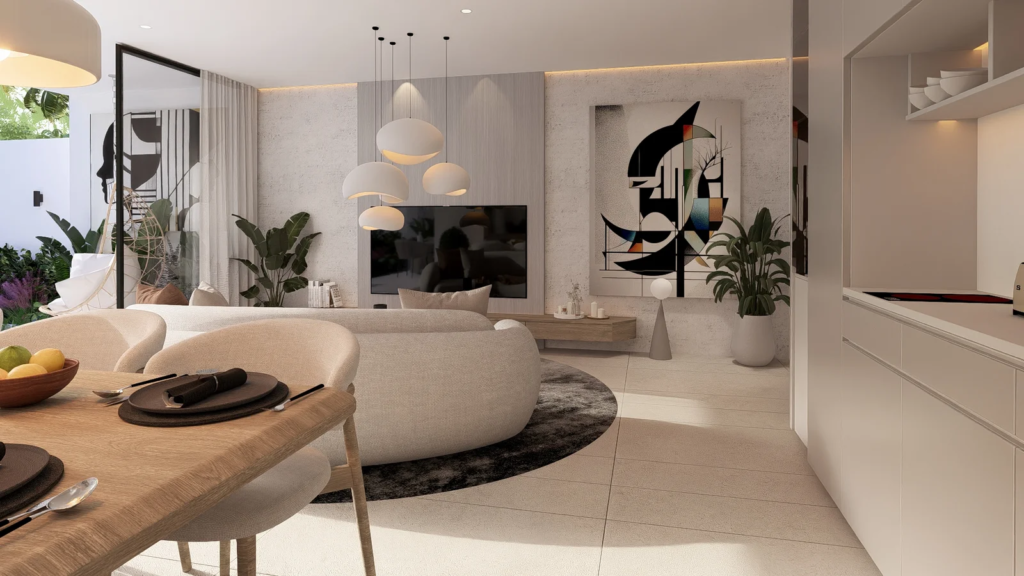
Understanding the effects of warm and cool tones is essential when working with stone and tile. The type of undertones influence the appearance of the materials, how they interact with one another, and with the overall design of the space. Getting them right can mean the difference between a cohesive look and one that feels slightly off. Although color is generally the first thing people notice, undertones are what truly determine balance in a design.
What Are Warm and Cool Tones?
Warm tones are typically colors that include more hints of:
Red
Orange
Beige
Cream
Gold
Brown
Cool tones, on the other hand, feature more shades of:
Gray
Blue
Green
Purple
White with crisp or icy undertones
Because many natural stones have elements of both warm and cool, it is important to identify the subtle undertones before selecting other materials.
Why Undertones Matter in Design
Unintentional mixing of warm and cool tones can create visual discord. Even if two materials appear similar at first glance, clashing undertones can make a space feel disjointed. When choosing materials, designers focus on undertones because they:
Affect how colors appear under different types of lighting
Influence the mood of a space (warm = cozy and inviting, whereas cool = calm and modern)
Impact how well materials coordinate with each other as well as with cabinetry and flooring
For example, combining a cool gray quartz countertop with warm wood cabinetry can feel mismatched unless they are balanced with uniting elements.
How to Identify Undertones
Determining undertones isn’t always a straightforward process, especially with natural stone. Designers often use comparison as the most reliable method for identifying undertones and utilize techniques such as:
Placing samples next to pure white to reveal hidden tones
Comparing multiple slabs or tiles side by side
Looking at the materials under both warm and cool lighting
Distinguishing dominant colors in the veining or patterning
This process can help ascertain whether the undertones of a material are more warm, cool, or neutral.
Creating Balance Between Tones
While it is generally easier to stick with tones that are within the same family, mixing warm and cool can work when it is done intentionally. Effective strategies for doing this include:
Using a neutral material that bridges the two tones
Repeating each tone at least twice within the space
Incorporating texture to soften the contrast
Choosing finishes that complement both tones
For instance, a neutral backsplash can help tie the cool countertops and warm cabinetry together.
Achieving a Cohesive Look Across Materials
Successful designs don’t happen by accident – they are a result of careful planning and coordination. By paying close attention to undertones and evaluating materials together, it is possible to create spaces that feel balanced and are visually appealing. When warm and cool tones are incorporated correctly, they can add depth and sophistication rather than causing dissonance within the design. Taking the time to consider these details when choosing stone and tile results in a finished space that feels both intentional and refined.
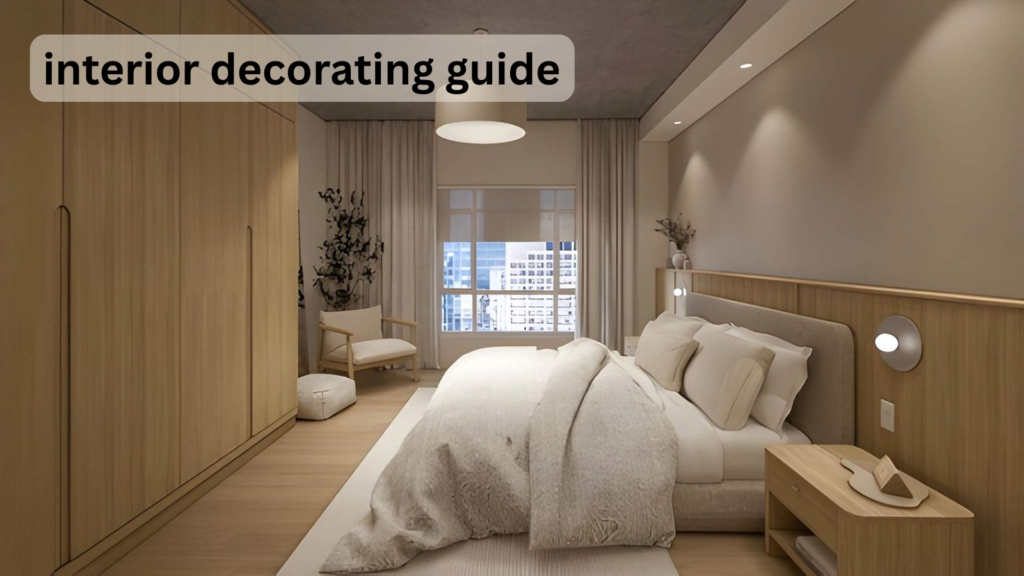
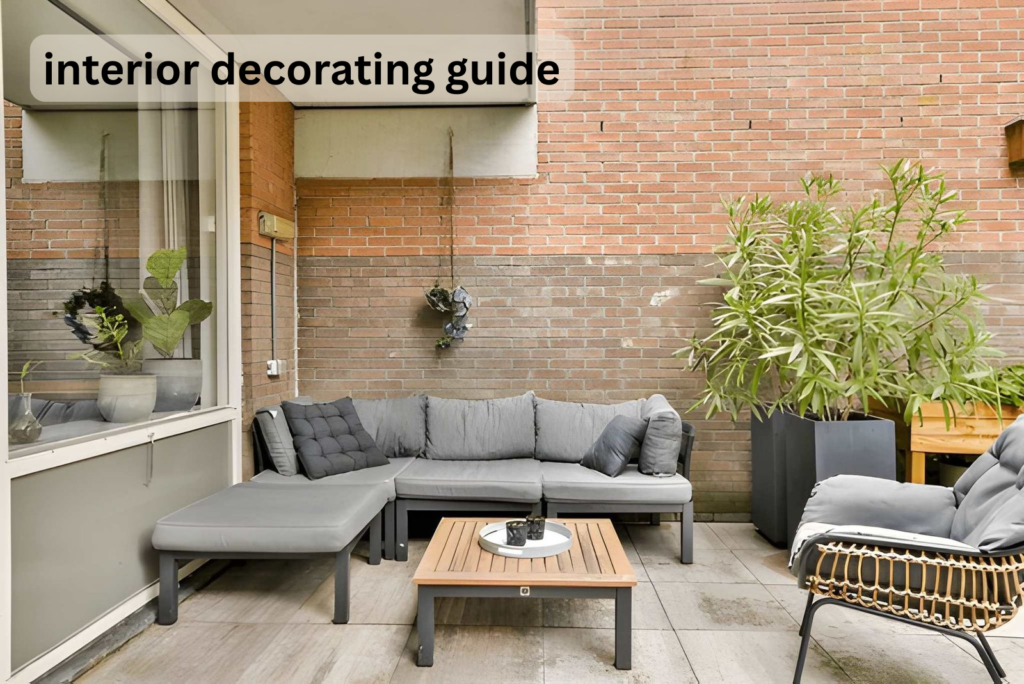
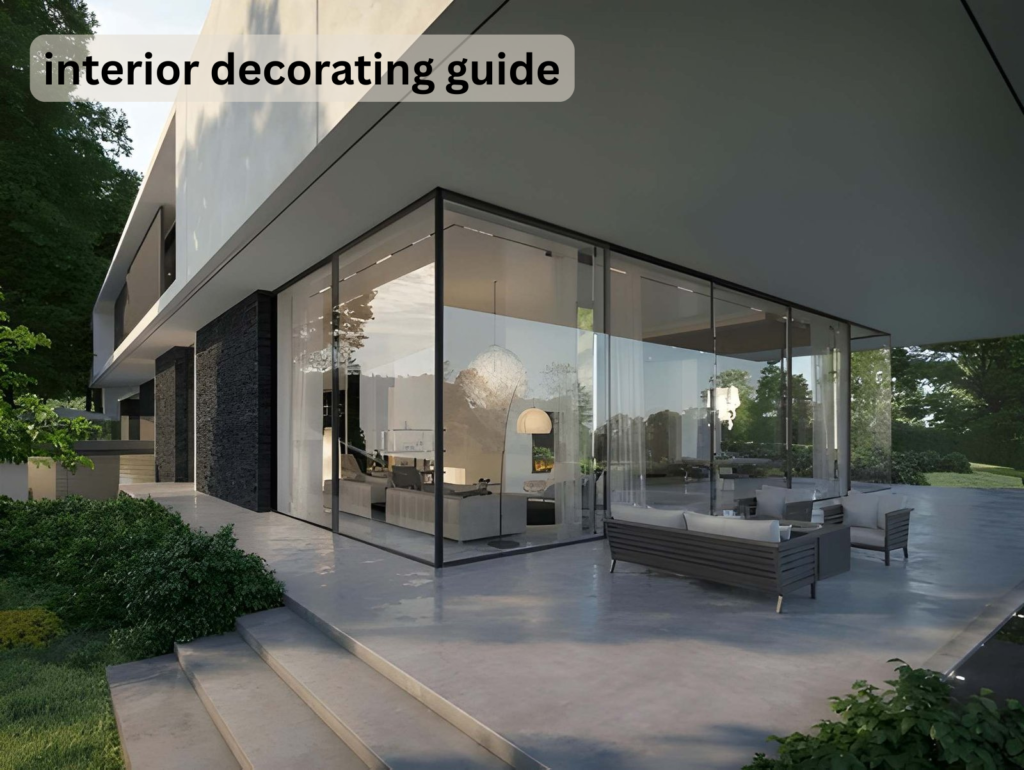
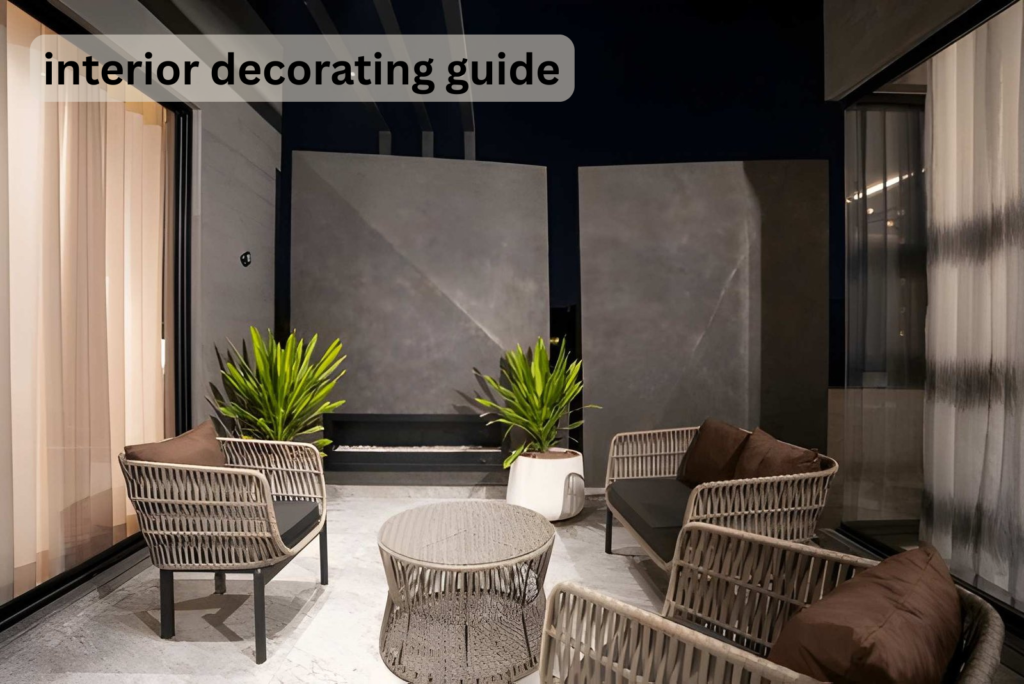
A well-designed home is not an accident.It comes from small choices made with care.When they attempt to decorate, many people feel trapped.They buy things that do not fit together. Or they follow trends that do not last. This is where a clear interior decorating guide helps.
The procedure is divided into easy steps in this instruction. Both a large budget and design training are not necessary. All you need is a strategy and a little perseverance. Your space seems balanced and comfortable to live in as each phase builds upon the previous one.
You will learn how to define your style, choose colors, arrange furniture, and add details that feel personal. The focus stays on real homes and practical decisions. This interior decorating guide also reflects how people in the United States live today, with a mix of comfort, function, and style.
By the time it’s all over, you will know exactly what to do.No guesswork. Just a simple way to make your home feel right.
Step 1 Understand Your Space Before You Start
Every good interior decorating guide starts with the same idea. Know your space before you change it.
Take a stroll around your house and give it a new perspective.Notice the size of each room. Pay attention to natural light. Some rooms feel bright most of the day. Others stay dim. This affects color and furniture choices more than people expect.
Measure your space. This step is frequently omitted, which causes issues down the road. A sofa that looks perfect online may not fit your living room. A rug may feel too small once it is placed. Basic measurements save time and money.
Think about how you use each room. A living room in a busy family home will look different from one used for quiet evenings. This is where many home decoration ideas fail.
A useful tip is to sketch a simple layout. You do not need software. Just draw the room and mark doors, windows, and large furniture.
Many top design guides stress this step, but they often rush through it.The reality is straightforward. Understanding your space makes all other decisions easier. .
Step 2 Define Your Style in a Realistic Way
Style matters, but it should feel natural. Not forced.Scroll through decor inspiration online, but do not copy everything you see. Save images that you like. After a while, you will notice patterns. Maybe you like neutral colors. Maybe you prefer warm wood tones. This tells you more than any label like modern or classic.
An interior decorating guide should not push you into one style. Real homes often mix styles. A clean sofa can sit next to a vintage table. What matters is balance.
Be honest about your lifestyle. If you have kids or pets, delicate furniture may not work. If you work from home, your space needs to support that.
Many people in the United States lean toward comfort first. Soft seating, simple layouts, and easy care materials are common. This is why many home decor ideas today focus on function as much as looks.
Make an effort to maintain a basic style. Small things can easily be added later.This makes your space flexible as trends change.
Step 3 Choose a Color Plan That Feels Right
Color shapes how a room feels. It can make a space calm or busy.Start with a simple palette. Pick two or three main colors.Include one or two accent colors. This prevents the space from appearing disorganized.
Light hues provide the impression that a tiny space is larger. Although they give depth, dark tones require adequate lighting.
Many interior styling tips suggest testing paint samples on your wall. This is worth the effort. Colors look different in real light than they do online.
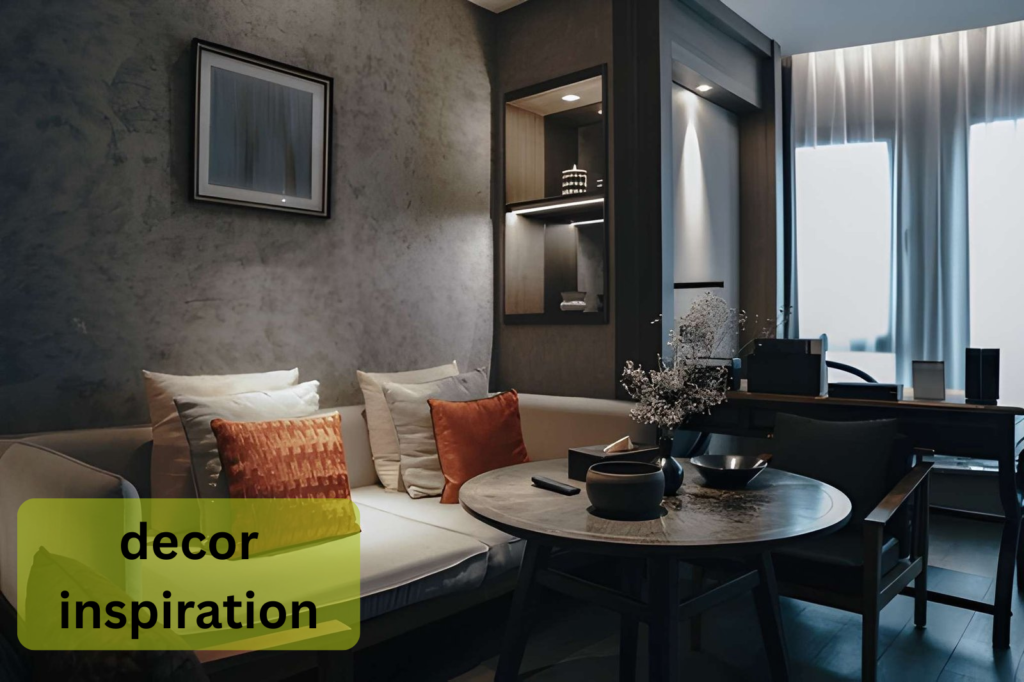
In many homes, neutral hues are still trendy. Gray, beige, and white make a soothing foundation. You can then add color through pillows, rugs, or art.
Avoid picking colors in a rush. Take time to see how they look during the day and at night. A good home decorating guide always treats color as a long term choice, not a quick fix.
Step 4 Pick Furniture That Fits Your Life
Furniture is where design meets daily use.Start with key pieces. A sofa, a bed, a dining table. These items shape the room. Choose quality where you can. It lasts longer and feels better over time.
Size matters. Large furniture can make a room feel tight. Small pieces can look lost in a big space. Balance is key.
Think about comfort. A chair may look good but feel stiff. Try to test furniture when possible. In the United States, many buyers now focus on comfort first, then style.
This is where many home decor concepts fall short. They focus on looks but ignore use. A beautiful space that does not work will not feel right.
Keep some open space in each room. Not every corner needs furniture. Empty space helps the room breathe.
A strong home decorating guide reminds you that furniture is not just decoration. It supports your daily routine.
Step 5 Plan Your Lighting with Care
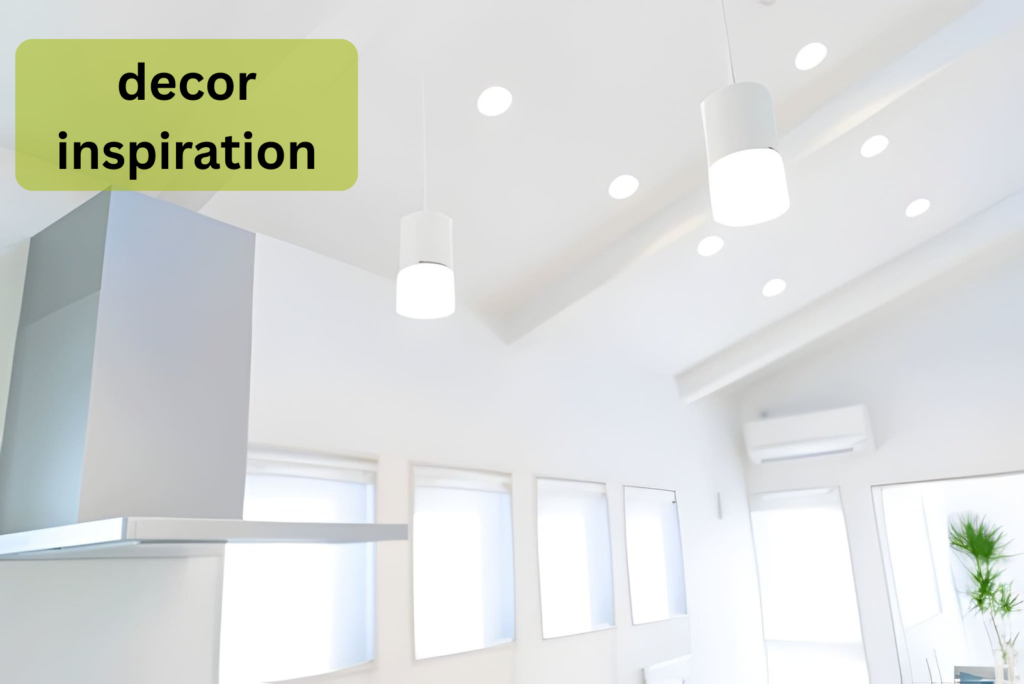
Lighting changes everything.Most homes need more than one light source. A ceiling light alone often feels flat. Add lamps to create layers.
For locations that are peaceful, use soft lighting. Kitchens and offices benefit from brighter lighting.This simple change improves both mood and function.
Natural light is just as important. Keep windows as open as possible. Light curtains work better than heavy ones in most rooms.
Good home styling tips often include mixing different light types.
In many modern homes, lighting is used to create a calm feel. Warm bulbs are more common than harsh white ones.
Take time with this step. A room with the right lighting feels complete, even with simple decor.
Step 6 Add Texture to Make the Room Feel Lived In
Texture brings warmth into a space.Mix different materials. Wood, fabric, metal, and glass each add something unique.Smooth surfaces alone can make a space feel chilly.
One of the simplest ways to add texture is with rugs.
They also help define areas in open spaces.Select a size that complements the arrangement of your furnishings.
Throw blankets and pillows are inexpensive ways to increase comfort.They are also easy to change if you want a new look.
Many decorating inspiration sources show layered textures. This is not just for style. It makes a room feel complete.
Keep it simple. Too many textures can feel busy. A balanced mix works best.
A good interior decorating tips treats texture as a quiet detail that makes a big difference.
Step 7 Use Wall Space with Purpose
Walls shouldn’t feel packed, but they also shouldn’t be vacant.Choose art or photos that mean something to you. Personal items make a space feel real.
Hang items at eye level. This small detail improves how everything looks.Mirrors are useful in smaller room.
Avoid filling every wall. Leave some space open. This helps the room feel calm.
An interior decorating manual should always remind you that walls are part of the design, not an afterthought.
Step 8 Bring in Natural Elements
Nature adds balance to any space.
Plants are the easiest way to do this. Even one or two can change how a room feels. Choose low care plants if you are new to them.
Wood furniture or decor pieces also add warmth. Natural materials feel more relaxed than synthetic ones.
In many homes across the United States, there is a move toward simple, natural design. It feels calm and easy to maintain.
This step is often missing in basic home decoration ideas, but it makes a clear difference.
Keep it subtle. A few natural touches are enough.
Step 9 Keep Your Space Flexible Over Time
Your home should grow with you.Avoid locking yourself into one look. Trends change. Your needs change too.
Use small items to update your space. Pillows, art, and decor pieces are easy to replace.
A strong interior design guide focuses on long term comfort. Not short term trends.
Pay attention to what works and what does not.
Many people find that simple spaces last longer.They are simpler to live in and upgrade.
Conclusion
A well decorated home comes from clear choices, not complex rules. This interior decorating guide shows that the process can stay simple and practical.
Each step builds a space that feels comfortable and personal. You do not need perfect design skills. You need awareness of your space, your needs, and your style.
Take your time. Make small changes.Your house will eventually begin to naturally reflect who you are.
That is the goal of any good interior decorating guide. Not perfection, just a space that feels right every day.
Housewarming gifts often aim to balance sentiment and practicality. Custom mugs meet both criteria. They are functional, easy to personalize, and appropriate for a wide range of styles, from minimalist designs to playful illustrations.
Today’s mug mockup generators integrate layout templates, drag-and-drop editing, typography controls, and 3D previews into one workspace. This reduces the need for advanced design skills while still allowing control over scale, alignment, and export quality.
Many first-time creators begin with structured templates to avoid sizing errors. For example, starting with Adobe Express’ mug maker provides preset mug dimensions and wrap previews aligned with common ceramic print standards.
The steps below focus on layout clarity, image resolution, and print preparation to ensure the finished mug feels intentional and well produced.
Step-by-Step Guide for Using Mug Mockup Generators
Step 1: Select Mug Size and Layout Format
Goal Set accurate dimensions before placing artwork.
How to do it
Choose standard mug size (11 oz or 15 oz).
Decide between single-sided or wraparound design.
Confirm printable area dimensions.
Start with a preset mug template.
Lock canvas size before adding elements.
What to watch for
Designing outside printable boundaries.
Overlooking handle placement.
Resizing the canvas after artwork is added.
Tool notes Adobe Express includes preset mug layouts designed to reflect typical ceramic print areas.
Step 2: Define the Gift Theme and Message
Goal Create a concept that reflects the occasion.
How to do it
Choose a housewarming theme (new address, family name, humorous quote).
Keep text concise and readable.
Select one or two complementary fonts.
Maintain balanced spacing.
Align text centrally for clean presentation.
What to watch for
Overcrowding the design with too many elements.
Thin font weights that may lose clarity.
Excessively long messages that wrap awkwardly.
Step 3: Add High-Resolution Images or Graphics
Goal Ensure crisp output on ceramic surfaces.
How to do it
Upload images at 300 DPI at final size.
Use vector files (SVG) for logos or line art.
Avoid enlarging small raster images.
Check artwork edges at 100% zoom.
Keep important elements inside safe margins.
What to watch for
Pixelation when scaling up images.
Fine lines disappearing after printing.
Mixed resolution elements affecting clarity.
Tool notes If refining artwork before uploading, tools like Lunacy can help adjust vectors or clean up graphic files.
Step 4: Adjust Color and Contrast for Print
Goal Prepare colors that translate well onto ceramic.
How to do it
Confirm RGB or CMYK export requirements.
Increase contrast between text and background.
Avoid subtle gradients.
Preview the design on white and colored mug options.
Simplify complex color blends if necessary.
What to watch for
Muted tones after printing.
Low-contrast text reducing legibility.
Unexpected color shifts during production.
Step 5: Review the 3D Mug Mockup
Goal Assess how the design appears in real-world context.
How to do it
Rotate the mug preview.
Check spacing near the handle.
Confirm wrap alignment for full designs.
Inspect readability from a distance.
Compare centered versus offset layouts.
What to watch for
Cropped edges in wraparound designs.
Off-center placement.
Designs appearing smaller than expected.
Tool notes Mug mockup generators such as Adobe Express provide visual previews that simulate curvature and placement.
Step 6: Export a Print-Ready File
Goal Generate a file suitable for ceramic printing.
How to do it
Export at 300 DPI resolution.
Confirm final dimensions before download.
Outline fonts if required.
Save both editable and flattened versions.
Double-check bleed or margin requirements.
What to watch for
Incorrect scaling.
Web-resolution exports.
Missing margins required by the printer.
Step 7: Coordinate Shipping and Delivery
Goal Ensure the mug arrives in time for gifting.
How to do it
Confirm production turnaround time.
Review digital proof carefully.
Select packaging options.
Track shipment progress.
Archive final artwork for future reorders.
What to watch for
Approving proofs without zoom review.
Overlooking shipping timelines.
Submitting outdated design files.
Tool notes Shipping coordination platforms such as ShipStation can help track orders and manage delivery logistics once production is complete.
Common Workflow Variations
Minimalist Name Mug Center the recipient’s name in bold typography with generous spacing. This approach emphasizes clarity and elegance.
Illustrated House Portrait Mug Feature a simplified illustration of the new home. Ensure artwork remains sharp and scalable.
Humorous Quote Mug Use bold type with strong contrast. Keep the message short for readability.
Address Commemoration Mug Include move-in year or street name subtly beneath the primary text.
Before You Start Checklist
Mug size selected
Printable area confirmed
Theme and message defined
High-resolution artwork prepared
Font licenses verified
Color mode confirmed
Production timeline reviewed
Shipping deadline noted
Pre-Export / Pre-Order Checklist
300 DPI resolution verified
Final dimensions confirmed
Alignment checked
Spelling reviewed
Contrast evaluated
Fonts outlined if required
Editable backup saved
Proof preview inspected
Common Issues and Fixes
Blurry printed design Ensure images are 300 DPI at final size and avoid enlarging low-resolution files.
Design cut off near handle Increase margin spacing and reposition artwork inward.
Colors appear dull after printing Boost contrast and avoid overly subtle gradients.
Wraparound misalignment Verify center guides and review 3D preview before exporting.
Printer rejects file Confirm file format, dimensions, and resolution meet printer requirements.
How To Use Mug Mockup Generators: FAQs
Is it better to use a template or start from scratch? Templates simplify dimension setup and alignment. Starting from scratch allows more flexibility but requires careful measurement control.
What resolution should custom mug designs use? Most ceramic printing services require 300 DPI at final size.
Should I design in RGB or CMYK? Confirm the printer’s specifications before exporting to reduce color discrepancies.
Are mockup generators suitable for personalized gifts? Mockup generators combine layout tools and previews in one interface, making them practical for both beginners and experienced designers.
Your HVAC system is an important – and expensive – part of your home. Extending its lifespan not only saves money but also ensures that your home remains comfortable year-round. With proper care and proactive maintenance, homeowners can significantly reduce wear and tear on their heating and cooling systems.
Schedule Regular Professional Maintenance
Routine maintenance is essential for a long-lasting HVAC system, and having professional inspections done can help catch minor issues before they turn into major problems. During a tune-up visit, experienced technicians will typically:
Examine and clean internal components
Check and adjust refrigerant levels
Inspect electrical connections
Test overall system performance
Scheduling maintenance at least once or twice a year (usually during the spring and/or fall) ensures that your system operates at peak performance and reduces unnecessary strain on key components.
Replace Air Filters Consistently
One of the simplest ways to protect your HVAC system is by regularly replacing the air filter. A dirty filter restricts airflow, forcing your system to have to work harder to circulate air throughout your home. Make sure to use the correct filter type for your system, and replace filters every 1 to 3 months depending on:
Filter type (fiberglass vs pleated)
Home size
Occupancy factors such as amount and adults vs kids
Number of pets
Outside air quality
Allergies
Season and system usage
These factors affect how dirty your filter gets and how frequently it needs to be changed. A clean air filter is vital to maintaining proper airflow, which prevents overheating and reduces stress on the blower motor.
Keep Vents and Ductwork Clear
Blocked vents and obstructions in the ductwork can negatively impact system performance. When airflow is restricted, your HVAC system has to work harder to achieve the desired temperature. Homeowners should:
Ensure vents are not covered by furniture or rugs
Keep ductwork clean and free of debris
Address any visible damage, gaps, or leaks in ducts
Proper airflow distribution helps with efficiency and reduces unnecessary wear.
Use Your Thermostat Strategically
How you use your thermostat can also affect the lifespan of your HVAC system. Constantly adjusting the temperature or setting it too high or low increases the workload of your system. For better performance:
Make sure your thermostat is properly calibrated
Set a consistent temperature when possible
Avoid extreme temperature changes
Use programmable or smart thermostats to automate adjustments
Reducing unnecessary system cycling or overly long run times can help preserve internal components over time.
Keep the Outdoor Unit Clean and Clear
The condenser unit plays a critical role in your system’s performance, and when it becomes clogged with leaves, dirt, or debris, it can’t release heat as effectively. To keep it functioning properly:
Regularly clear debris
Maintain at least 2 feet of space around the unit
Check periodically for signs of damage or obstruction
A clean outdoor unit improves efficiency and reduces the risk of overheating.
Avoid Overworking Your System
Your HVAC system is designed to maintain the comfort of your home, but underlying issues can hinder its performance. Poor insulation, air leaks, or drafty windows can force your system to work harder than necessary. Improving your home’s efficiency by sealing gaps or adding insulation can reduce the strain on your system and prolong its lifespan.
Long-Term Reliability for Your HVAC System Extending the life of your heating and cooling system comes down to one thing: consistency. Regular maintenance and proper usage all play a role in keeping your system running efficiently. By taking a proactive approach, homeowners can avoid premature replacements, reduce repair costs, and enjoy reliable performance for years to come.
Welcome to the ultimate guide on revamping your living space without breaking the bank. Whether you’re looking to refresh a single room or overhaul your entire home, budget-friendly renovations are within reach with the right strategies. Let’s dive into actionable tips that will help you create a stunning home in 2026 and beyond, all while keeping costs in check.
Start with a Clear Vision
Before picking up a paintbrush or browsing for furniture, take a moment to define what you want your space to look like. Consider the functionality of each room—do you need a cozy nook for working from home, or a vibrant area for entertaining? Having a clear vision prevents overspending on unnecessary items and keeps your project focused.
Think about the style that resonates with you, whether it’s modern minimalism or rustic charm. Create a mood board with colors, textures, and inspiration images to guide your decisions. This small step can save you from costly design mistakes down the road.
Prioritize High-Impact, Low-Cost Changes
You don’t need a massive budget to make a big difference in your home’s appearance. Simple updates like repainting walls in a fresh, neutral tone can instantly brighten a space and make it feel brand new. Focus on areas that catch the eye first, such as entryways or living rooms, to maximize the visual impact of your efforts.
Another affordable trick is updating hardware—think cabinet knobs, drawer pulls, and light fixtures. These small swaps can modernize a dated kitchen or bathroom for under a hundred bucks. If you’re feeling creative, consider DIY projects like building floating shelves or refinishing old furniture with a fresh coat of stain.
For those curious about innovative DIY ideas, there’s a wealth of inspiration out there. A particularly helpful resource, this guide to DIY light panels, shows how to craft custom lighting that integrates with smart home systems for a modern touch. It’s a perfect example of how small, creative projects can elevate your space on a budget.
Tackle One Room at a Time
Trying to renovate your entire home at once can be overwhelming and expensive. Instead, focus on completing one room before moving to the next, which helps spread out costs and keeps the project manageable. Start with a space that gets the most use, like the kitchen or living room, to enjoy the results sooner.
Breaking the renovation into smaller phases also allows you to reassess your budget as you go. If unexpected expenses pop up, you can pause and adjust without derailing the entire plan. This approach builds momentum as you see each finished room come to life, motivating you to keep going.
Get Creative with Financing Options
Renovations, even on a budget, can sometimes require a little extra financial help to cover materials or unexpected costs. If savings alone aren’t enough, exploring accessible funding solutions can keep your project on track without causing stress. This is where understanding options like bad credit loans becomes useful, as they offer a pathway to secure funds even if your credit history isn’t perfect.
When considering any form of financing, always evaluate the terms and ensure they align with your repayment ability. Look for flexible options that won’t strain your monthly budget, and only borrow what you truly need for the renovation. A small, well-planned loan can help you purchase quality materials or hire a professional for tricky tasks, ensuring lasting results.
Repurpose and Upcycle for Unique Style
One of the most rewarding ways to save money is by repurposing items you already own or finding second-hand treasures. An old dresser can become a chic bathroom vanity with a bit of sanding and paint, while thrifted frames can add character to a gallery wall. Embracing upcycling not only cuts costs but also adds a personal touch to your home.
Check local marketplaces or garage sales for hidden gems that just need a little love. Even mismatched pieces can work together if tied in with a cohesive color scheme or theme. This approach reduces waste and lets you create a space that tells your unique story.
Focus on Energy Efficiency for Long-Term Savings
While initial renovation costs are important, don’t overlook upgrades that save money over time. Swapping out old light bulbs for LED options or adding weatherstripping to doors and windows can lower utility bills significantly. These small investments in energy efficiency pay off month after month.
Consider larger upgrades like installing a programmable thermostat if your budget allows. Researching the latest trends in sustainable home design can also provide ideas for affordable tweaks. For instance, this collection of home and garden insights offers practical advice on incorporating eco-friendly elements into your space, from energy-saving appliances to low-maintenance landscaping.
Maintain Flexibility and Patience
Renovating on a budget often means things won’t happen overnight, and that’s okay. Be prepared to adjust your timeline if deals on materials don’t come through or if a project takes longer than expected. Staying flexible prevents frustration and helps you make smarter financial decisions along the way.
Remember that perfection isn’t the goal—progress is. Celebrate each small win, whether it’s a freshly painted room or a cleverly upcycled piece of furniture. Over time, these incremental changes will transform your home into a space you love without draining your wallet.
Final Thoughts on Budget-Friendly Home Makeovers
Renovating your home on a budget is all about creativity, planning, and patience. By focusing on high-impact changes, tackling one room at a time, and exploring smart financing when needed, you can achieve a beautiful space without financial strain. Take these tips, start small, and watch your home evolve into a reflection of your style and needs.
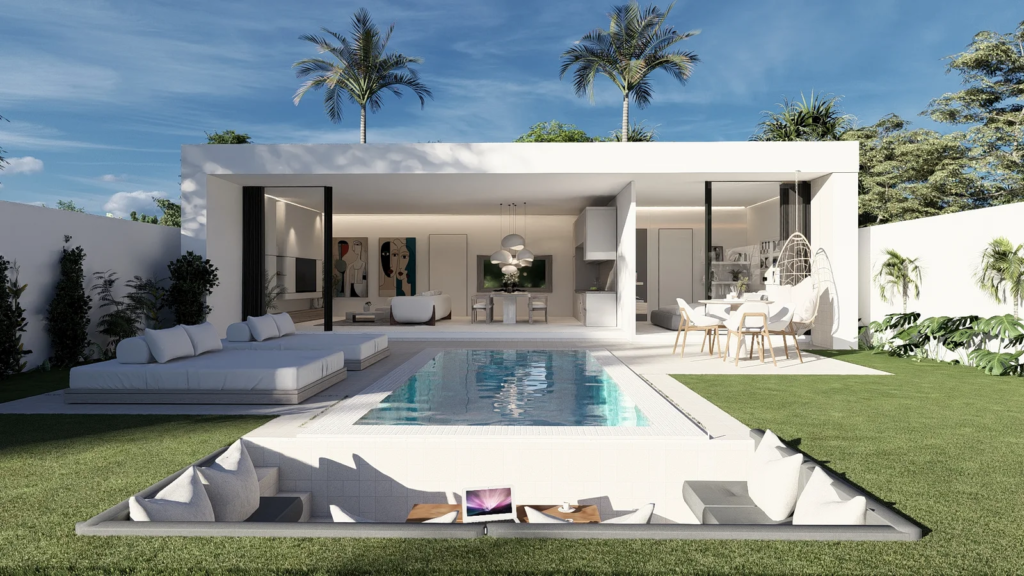
Designing a high-end residence is often described as a sequence—brief, concept, drawings, construction.
In reality, it’s a continuous process of refinement.
At Adoani Studio, we don’t move from one step to the next in isolation. Each phase informs the next, and often, we return to earlier decisions to improve clarity. The goal is not just to complete a design, but to resolve it properly.
Working in Koh Samui, where climate and landscape play a strong role, this process becomes even more sensitive. Every decision—whether spatial, material, or technical—has a direct impact on how the house will be experienced over time.
1. Understanding the Client, the Site, and the Intention
Before we draw anything, we focus on understanding three things:
How the client lives
What the site offers
What the project is trying to achieve
This stage is less about collecting requirements and more about identifying direction.
We discuss:
Daily routines and lifestyle
Preferences for openness or privacy
Expectations in terms of atmosphere
At the same time, we study the site carefully:
Sun orientation throughout the day
Prevailing wind directions
Views, surroundings, and topography
As a Koh Samui architect, these factors are not secondary. They shape the foundation of the project.
If this stage is rushed, the rest of the process becomes reactive instead of intentional.
2. Establishing a Clear Design Direction
Once we understand the context, we begin defining the overall direction.
This is not a finished concept. It’s more about setting the logic of the project.
We start asking:
Should the house open outward or remain more controlled?
Where should the main living spaces be positioned?
How should private and public areas be separated?
At this stage, we are not designing details. We are defining relationships.
This is where the identity of the project begins—not visually, but spatially.
3. Concept Design: Giving Form to Ideas
In the concept phase, ideas start to take shape.
We translate initial thinking into:
Layouts
Volumes
Spatial arrangements
At this point, we focus on:
How spaces connect
How circulation flows
How light enters the building
For example:
Should the living space sit at the center or open toward one edge?
How do bedrooms maintain privacy while still feeling connected to the environment?
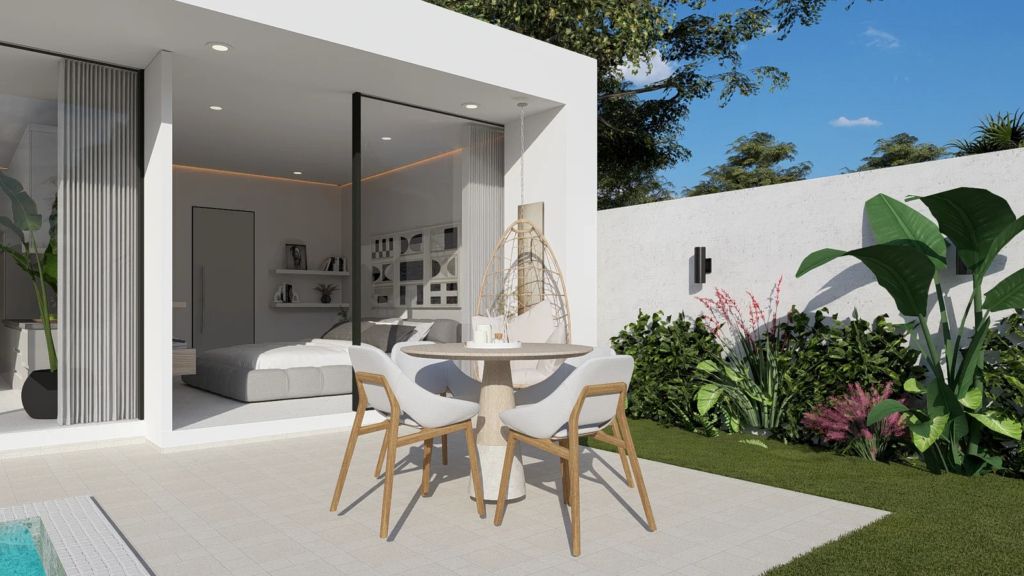
Where should transitions between indoor and outdoor spaces occur?
We don’t separate architecture and interiors here. Even in early layouts, we consider how spaces will feel—not just how they are arranged.
4. Refining Space, Proportion, and Movement
Once the concept is clear, we begin refining it.
This is where the design becomes more precise.
We adjust:
Dimensions of rooms
Proportions of spaces
Relationships between areas
Small changes at this stage can significantly affect how a space is experienced.
For example:
Increasing ceiling height can make a space feel more open
Narrowing a passage can create a sense of transition
Adjusting an opening can improve both light and airflow
We continuously evaluate:
Does the space feel balanced?
Is the transition between areas natural?
Does the layout support how the house will be used?
This stage requires patience. It’s where clarity is achieved through refinement.
5. Integrating Climate Into the Design
In tropical environments, climate is not something we address later—it is integrated into the design from the beginning.
We refine:
Shading strategies to control sunlight
Ventilation paths to allow natural airflow
Orientation of spaces to reduce heat gain
Openings are carefully positioned—not just for views, but for performance.
Roof overhangs are designed to:
Provide shade
Protect from rain
Extend usable outdoor areas
This stage ensures that the house remains comfortable throughout the day, without relying entirely on mechanical systems.
6. Defining Materials and Their Relationships
Material selection is not about choosing finishes at the end.
It is part of the architectural process.
We focus on:
How materials interact with light
How they age over time
How they connect at junctions
Rather than using many materials, we work with a restrained palette and refine how they are combined.
For example:
A continuous material can create flow between spaces
A change in texture can define different zones
Natural materials can soften or ground a space
The goal is not visual complexity, but depth and consistency.
7. Technical Development and Documentation
Once the design is fully resolved, we translate it into detailed drawings.
This includes:
Architectural plans and sections
Construction details
Coordination with structural and technical consultants
At this stage, precision is critical.
Every element must be clearly defined so that the design can be built accurately.
A well-designed project can lose its quality if it is not properly documented.
8. Working Closely During Construction
The design process does not end with drawings.
During construction, we stay involved to ensure that the design intent is maintained.
We work with:
Contractors
Engineers
Site teams
We review:
Material samples
On-site mock-ups
Construction progress
This allows us to:
Resolve details as they are built
Adjust where necessary
Maintain consistency with the original design vision
9. Interior Integration as Part of the Whole
At Adoani Studio, interiors are not treated as a separate layer added at the end.
They are part of the same system.
We focus on:
How furniture relates to the architecture
How lighting enhances space
How materials continue from exterior to interior
This creates a cohesive environment where nothing feels disconnected.
The goal is not to decorate the space, but to complete it.
10. Final Review: Experiencing the Space
Before completion, we review the project as a whole.
We move through the space and evaluate:
How it feels to walk through it
How light changes during the day
How spaces connect and flow
This is where everything comes together.
A successful house should feel:
Natural
Balanced
Effortless
Not because it is simple, but because it has been carefully resolved.
Final Thoughts
Designing a high-end residence is not about following a fixed sequence of steps.
It is about maintaining clarity throughout a complex process.
At Adoani Studio, our approach remains consistent:
Understand the context
Define a clear direction
Refine continuously
Avoid unnecessary complexity
Because in the end, good architecture is not defined by how much is added.
It is defined by how well everything works together.
If You’re Planning a Residence in Koh Samui
Designing in a tropical environment requires more than visual inspiration.
It requires:
Understanding of climate
Sensitivity to space
Integration of architecture and interiors
Working with a Koh Samui architect who approaches design in this way ensures that the final result is not only visually refined but also comfortable, functional, and lasting.
A lot of people just want a home that feels cozy and comfortable somewhere you can unwind after work, hang out with family, or just enjoy some quiet time without being surrounded by clutter. That’s where decorating ideas come into play. It’s not about trying to copy expensive homes or follow strict rules. It’s more about making small, simple changes that make your space feel better in your everyday life. And when you think about it, home design has really changed a lot over the years.Earlier, people focused on filling rooms with furniture and decorations. Now the focus is more on space, light, and simplicity.For a space to seem attractive, it doesn’t have to be filled. In fact, less often looks better when it is done right. Even small apartments can feel open and calm if the design choices are thoughtful.
The good news is, you don’t need a big budget or a designer to make your home feel better. A lot of the time, it’s just about understanding a few simple ideas and making small changes over time. Decor inspiration can help guide you, whether it’s about clearing out the clutter, picking the right colors, improving the lighting, or choosing furniture that actually works for your space. These little tweaks can really transform the way your home feels.
In this guide, we will go through seven practical decor inspiration ideas that can instantly improve any living space. These are not complicated design theories. They are simple, real-life changes that actually work in everyday homes.
1. Keep things simple and remove what you don’t need
One of the biggest differences between a messy room and a comfortable one is not furniture. It is clutter.
Many homes feel crowded because of small unnecessary items. Old decorations, unused furniture, extra chairs, or things sitting on shelves for no reason all add visual weight.
When you start removing things you do not use, the room instantly feels lighter. It is almost like the space can breathe again. You start noticing your actual furniture instead of getting distracted by random objects.
One of the key components of modern décor inspiration is this.Simplicity is not about having an empty room. It is about keeping only what you actually need or like.
One corner at a time is an excellent place to start. Avoid attempting to fix the entire house in a single day.Just clear one table, one shelf, or one area.
Over time, you will notice something interesting. You stop feeling like your home is “full” all the time. Instead, it starts to feel open and more relaxed.
2. Use calm and neutral colors as your base
Color has a quiet but strong effect on how a room feels.Your brain responds to it continuously, even if you don’t think about it every day.
Modern homes often use neutral colors for a reason.A serene foundation is produced by hues like white, beige, light gray, and soft brown. These colors do not fight for attention. Instead, they support everything else in the room.
When your walls and main furniture are neutral, you get more freedom later. You can change small items like cushions, curtains, or rugs without needing to redesign the whole space. That flexibility is very important in real homes.
Another benefit is balance. Bright colors can sometimes make a room feel heavy if overused. Neutral tones keep everything stable.
But neutral does not mean boring. The trick is mixing shades. For example, a light gray sofa with a beige rug and wooden table can look very warm and natural. It is simple, but not flat.
This kind of decor inspiration works especially well in small homes because lighter colors make spaces feel bigger than they actually are.
3. Fix your lighting before changing anything else
If there is one thing people underestimate in home design, it is lighting. These Interior Design Tips are simple, but they really change how a space feels.
You can have expensive furniture, nice paint, and good decoration, but if lighting is wrong, the whole room feels off. On the other hand, even a basic room can feel beautiful when the lighting is right.
Start with natural light. If you have windows, use them as much as possible. Keep curtains light and avoid blocking sunlight during the day. Natural light makes everything look cleaner and more open.
At night, avoid using just one bright light in the center of the room. That usually makes the space feel flat. Instead, use multiple light sources. A lamp near the sofa, a soft light in a corner, or even wall lighting can create depth.
Warm lighting works best for living spaces because it feels more comfortable. Bright white light is better for kitchens or work areas.
Good interior styling tips always include lighting because it changes mood instantly without changing anything physical in the room.
Even a small change like adding a floor lamp can completely shift how your space feels in the evening.
4. Choose furniture that fits your daily life
Furniture is not just decoration. It is something you use every single day, so it has to work for your real life, not just look good in a picture.
That is why home improvement mintpaldecor style thinking matters here. If you pick furniture only because of how it looks, it can feel like a mistake later. A sofa might look perfect in a showroom, but once it’s in your room, it may feel too big, too small, or just not practical for how you live.
Modern design concepts focuses on function first. Think about how you actually use your home. Do you need storage? Do you need flexible seating? Do you need pieces that save space?
Multi purpose furniture is very helpful here. A coffee table with storage, a sofa bed, or a foldable dining table can make life much easier, especially in smaller homes.
This approach is often seen in interior decoration advice mintpaldecor style thinking, where the goal is to make the home practical before making it stylish.
Additionally, people tend to underestimate the importance of size. Everything feels cramped when there is large furniture in a tiny space. Properly scaled pieces help maintain balance and comfort.
5. Bring natural elements into your space
Modern homes can sometimes feel a bit too clean or structured. That is where natural elements help soften everything.
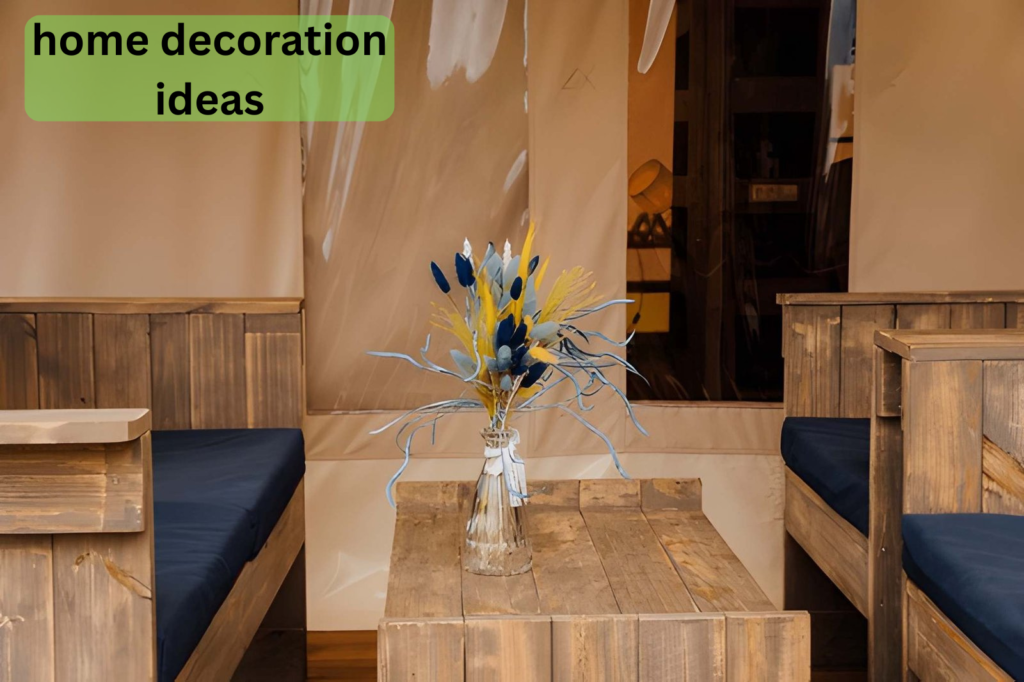
Plants are one of the easiest home decoration ideas you can try. You don’t require many of them. The atmosphere of the entire space can be altered by placing a single plant in a corner or close to a window. It brings a bit of life into the space and adds color without you really trying too hard.
Wood is another strong element. Wooden furniture or even small wooden details make a space feel warmer. It balances out modern materials like metal or glass.
Natural fabrics like cotton or linen also help. They make a room feel more relaxed compared to synthetic materials.
This method of decorating works because it connects your home with nature in a very simple way. It does not require a big change, but the effect is noticeable.
6. Create one clear focal point in each room
There should be something in every space that catches your attention as soon as you come in. If that is missing, the space can feel a bit messy or not fully put together.
A focal point can be something simple. A sofa, a piece of art, a feature wall, or even a light hanging in the center.It doesn’t have to be flashy or costly. To give the room direction, it only has to stick out a bit.
You’ll notice the same thinking in kitchen upgrading advice mintpalment too. When a kitchen has one clear area that stands out, everything else feels easier to understand and the space works better overall.
Once you choose a focal point in a room, everything else should just support it. Not try to compete with it or grab attention.
When that balance is right, the room feels easier on the eyes. You kind of know where to look when you walk in, even if you don’t think about it.
In tiny apartments, this is even more important. There isn’t much room, so if everything is trying to stand out, it quickly feels messy.
7. Add personal touches, but don’t go overboard
A home should feel like the people living in it. But it can go wrong when every surface is filled with things.
Instead of putting everything out, just pick a few things that actually mean something to you. A photo you like, a book you always keep nearby, or something you brought back from a trip.
That’s usually enough. You don’t need more than that to make a space feel like yours.
The idea is simple. It should feel lived in, not packed. If everything has a purpose or meaning, the room feels natural. If things are just there to fill space, it starts feeling heavy.
When you get that balance right, the room feels warm and personal, but still clean and easy to look at.
Conclusion
Making your home better doesn’t have to be complicated or expensive.
Most of the time, small changes matter more than big ones. Clearing out extra stuff, keeping colors simple, fixing lighting, and adding a bit of nature can really change how a place feels.
There isn’t one fixed way to do modern decor inspiration. It’s more about figuring out what feels right for you and your space.
When a room feels simple, balanced, and a little personal, it naturally becomes a place you actually enjoy spending time in.
Most people want a home that feels good to live in and still looks nice when someone walks in. The problem is, many assume that kind of look needs a big budget. In reality, it usually comes from small choices done in a simple and consistent way. You do not need luxury furniture or full renovation work to improve a space.
These home decoration ideas are based on practical changes you can actually apply in real homes in the United States. Nothing here is complicated or expensive. It is more about how you use what you already have and what small things you add or remove.
The goal is simple. Make your home feel cleaner, calmer, and more balanced without trying too hard. When you focus on light, space, color, and basic arrangement, even a normal room can start to feel more refined.
1. Stick to simple and calm colors
Color is the first thing that changes how a room feels. If a room has too many strong colors, it starts to feel busy very fast. On the other hand, soft and simple shades make the space feel more open.
Most homes look good with colors like white, beige, light gray, and soft brown.They do not demand attention but still look clean. This is why many modern homes use these tones.
Repainting everything at once is not necessary. Even small changes like lighter curtains or a neutral rug can shift the mood of the room. One of the easiest home decoration ideas is to reduce color variety instead of adding more.
When the base of the room is simple, everything else looks more expensive without effort.
2. Improve your lighting
Lighting changes everything in a home. A room with bad lighting can feel dull even if it has good furniture. A room with soft lighting can feel warm even if it is simple.
Try to avoid relying only on ceiling lights. Add small lamps where possible.A table light next to a sofa or in a corner can provide coziness to the space.
Warm light works better for living rooms and bedrooms because it feels more natural. Bright white light can be useful in kitchens or work areas, but not everywhere.
Good lighting is one of the most overlooked home decor ideas, but it has one of the biggest effects on how a space looks.
3. Use long curtains that reach the floor
Curtains can completely change how tall a room feels. Short curtains often make the wall look cut in half, which reduces the sense of space.
A cleaner vertical line is produced by long drapes that reach the floor. This makes the ceiling look higher and the room feel more open.
Even if your curtains are simple or low cost, the way you hang them matters. Place the rod a little higher than the window frame. This small change makes a big difference.
Among all home decoration ideas, this is one of the easiest ways to make a room feel more designed without spending much.
4. Use one large wall piece instead of many small ones
Many small frames on a wall can create visual noise. The eye keeps moving from one item to another, which makes the space feel messy.
One large wall piece does the opposite. It gives the room a clear focus point. It also makes the wall feel more organized. Simple prints or even clean photography can work if the size is right.
A well placed large frame often looks more expensive than many small decorations combined. This is a simple shift in home decoration ideas that many people overlook.
5. Update small details like handles and knobs
Small things can quietly affect how a home feels.Examples include drawer pulls, door knobs, and cabinet handles.
If they look old or mismatched, the whole space can feel outdated. Replacing them with simple modern designs can make a noticeable difference.
You do not need fancy materials. Simple metal or matte finishes are enough. The goal is consistency, not luxury.
This is one of those low-effort design upgrades that produces results quickly.
6. Mix different textures in a simple way
A room with only smooth surfaces can feel a bit flat. Everything starts looking the same.
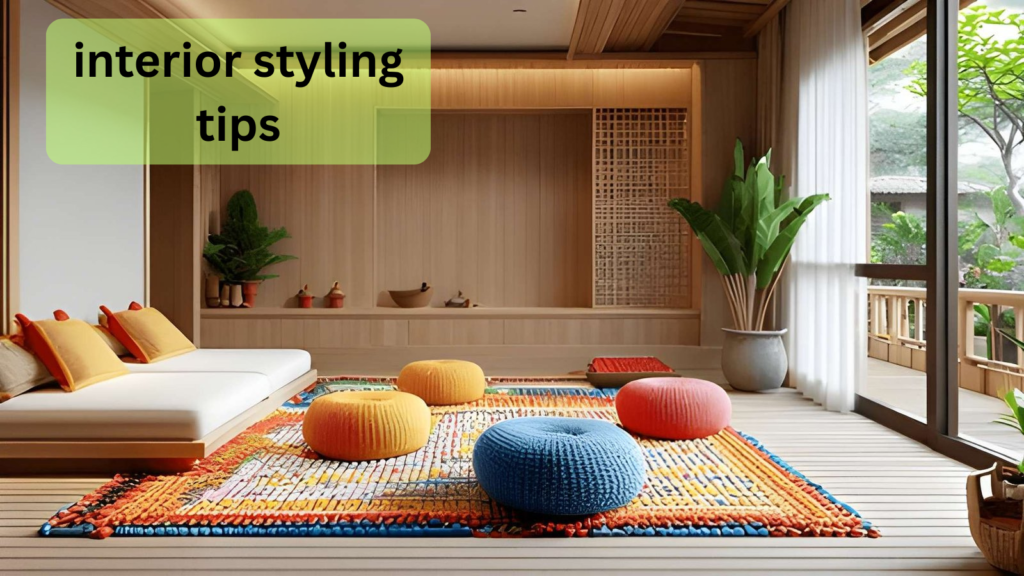
Mixing textures helps. Soft stuff like cotton or linen works well with harder things like wood or metal.The room immediately feels more balanced with a sofa and wooden table.
Even interior doors can change the feel of a room. A plain wood door or a simple matte finish can make things feel warmer without trying too hard.
Too many textures are not necessary. A handful of carefully selected ones are sufficient.
This idea is often used in simple interior styling tips because it adds depth without adding clutter.
7. Keep surfaces clear and simple
Tables, shelves, and counters often get filled with too many things. Over time, this makes the room feel crowded.
Keeping a small number of items visible is a superior strategy. Choose things that actually matter or look good in the space.
Empty space is not a problem. It actually helps the room breathe.
One of the most practical home decoration ideas is removing extra items instead of constantly adding new ones.
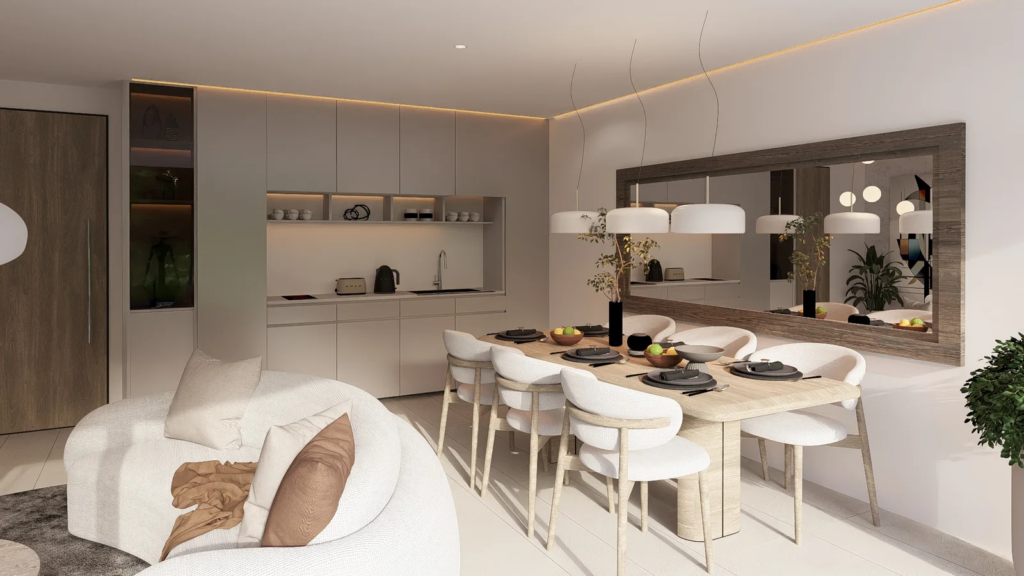
8. Use mirrors to open up space
Mirrors help reflect both natural and artificial light. This makes rooms feel brighter and larger.
Placing a mirror near a window works especially well because it spreads daylight across the room.
Large mirrors are more effective than small ones. A simple frame is enough because the mirror itself is the main feature.
This trick is often used in small homes because it creates a sense of openness without changing the structure.
9. Add a few natural plants
Plants are one of the easiest ways to improve a room. They bring color, softness, and a natural feel.
You do not need many.A room’s mood can be altered by just one or two plants placed in strategic locations.
Beginners should use low-maintenance plants like pothos or snake plants. They still look good and don’t require continuous maintenance.
This is one of the most reliable decorating methods because it works in almost any type of home.
10. Keep your bed simple and clean
A bedroom just feels better when the bed is made. It kind of sets the mood for the whole room.
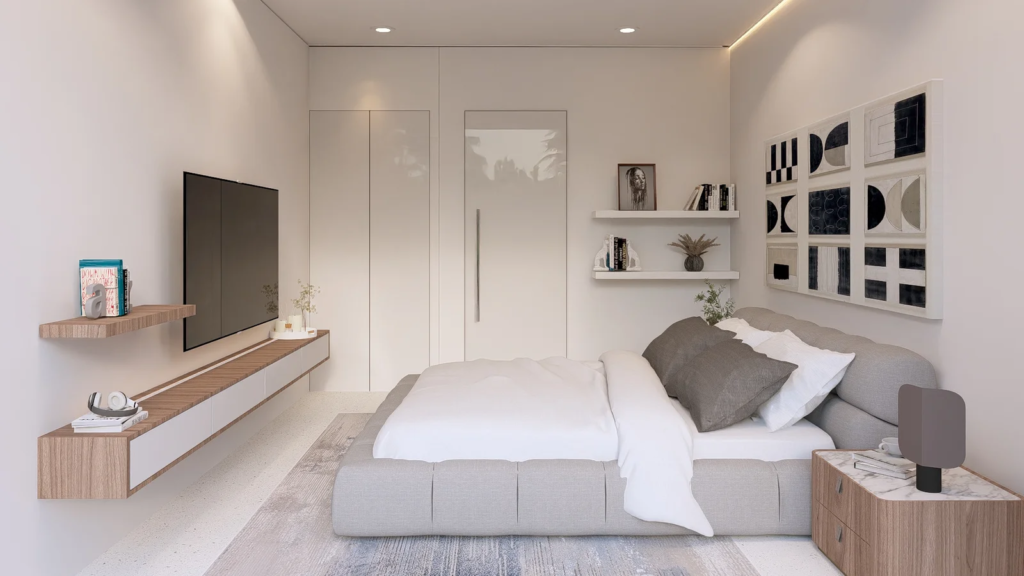
Simple bedding works best. Light colors like white or soft shades make the space feel calm and clean.
You don’t really need a lot of pillows or heavy decoration. A few simple things are enough.
It’s small stuff like this that keeps the room feeling tidy without much effort. That’s also why interior design is interesting mintpaldecor because even tiny changes can actually shift how a space feels.
11. Balance things across the room
Balance means the room does not feel heavy on one side. It helps create a calm and stable look.
For example, if you place a lamp on one side of a sofa, you can place a similar object on the other side.
It does not have to be exact matching items. It just needs visual balance.
Many good house decoration style approaches use this idea because it creates harmony without complexity.
12. Focus on quality instead of too many items
A lot of people end up buying too many things for their home at once. After a while, the room starts feeling crowded, even if the items themselves are fine.
It works better to buy less. Take your time and only choose things that actually fit the space. Simple items usually look better and last longer than cheap trendy ones.
A room doesn’t have to be finished right away. Homes usually look better when you build them slowly over time.
This is also what home hacks is about. Just keeping things simple and not filling the space with too much stuff.
Conclusion
A nice home does not come from expensive stuff or perfect planning.
It comes from small choices like light, space, and how you place things.
These home decoration ideas are not something you must do all at once. Even one small change can help. And slowly, your space starts to feel more comfortable and balanced without needing much money.
Dubai has become one of the most attractive destinations for real estate investment in recent years. The city’s appeal is built on several foundations:
A strong economy
Modern infrastructure
Investor-friendly policies
Global attention from buyers around the world
Many people are now choosing to invest in Dubai as a way to secure long-term financial growth while enjoying the benefits of a global lifestyle.
Property options available for different investor profiles:
Property Type
Target Buyer
Budget Level
Affordable studio apartments
First-time buyers
Entry-level
Mid-range apartments
Growing investors
Moderate
Luxurious waterfront penthouses
Experienced investors
Premium
This variety allows investors to choose properties that match their financial goals and investment strategies, providing flexible options to enter the market.
A Rapidly Growing Real Estate Market
Dubai’s real estate sector has experienced consistent growth due to increasing demand from both local and international investors. The government has introduced several initiatives to make property ownership easier:
Long-term residency visas
Simplified legal procedures
Measures boosting investor confidence
A safe and reliable environment for investment
The city’s strategic location advantages include:
Global hub connecting Europe, Asia, and Africa
Millions of visitors every year
Constant flow of tourists and professionals
High demand for rental properties
Apartments as a profitable investment option
High-Quality Lifestyle and Modern Infrastructure
One of the biggest advantages of investing in Dubai is the high standard of living it offers. The city is known for its modern architecture, clean environment, and advanced infrastructure.
World-class amenities typically included in residential buildings:
Amenity
Benefit for Residents
Swimming pools
Leisure and lifestyle
Fitness centers
Health and wellness
Security services
Safety and peace of mind
Dedicated parking areas
Convenience
This luxurious lifestyle attracts a wide range of residents:
Business professionals
Expatriates
Families from around the world
As a result, property owners can benefit from strong rental demand and stable income streams. The quality of life in Dubai continues to improve, making it an even more appealing destination for long-term residents.
Attractive Returns on Investment
Dubai is well-known for offering high rental yields compared to other major cities.
City
Rental Yield Comparison
Dubai
Significantly higher
London
Lower
New York
Lower
Paris
Lower
Key investor benefits:
Significant returns through rental income
Property value appreciation over time
Tax-free environment
No property taxes imposed
Maximum profit retention
Wealth growth without heavy financial burdens
This combination makes Dubai one of the most profitable real estate markets globally.
Safety and Stability
Safety is a key factor that influences investment decisions, and Dubai excels in this area.
Core safety and stability factors:
Very low crime rate
Strict regulations ensuring a secure environment
Ideal location for families and individuals
Peaceful lifestyle for residents
Economic stability supported by government
Political stability reducing investment risk
Active support for business growth
Continuous infrastructure development
These factors provide reassurance to investors and reduce potential risks.
Future Growth and Development
Dubai is continuously evolving, with new projects and developments being launched regularly.
Ongoing development areas:
Smart cities
Luxury residential communities
Large-scale infrastructure projects
Global events enhancing the city’s reputation
Expected outcomes for investors:
Timeframe
Expected Benefit
Short-term
Rising demand and strong rental income
Medium-term
Increasing property values
Long-term
Capital appreciation and portfolio growth
Early investors are likely to benefit the most from this upward trend, making Dubai apartments both a short-term opportunity and a long-term strategy for financial growth.
Conclusion
Investing in an apartment in Dubai offers numerous advantages. Its key strengths can be summarized as follows:
Advantage
Investor Benefit
High returns
Strong rental yields and appreciation
Tax-free environment
Maximum profit retention
Premium lifestyle
High tenant demand
Strong economy
Market stability
Modern infrastructure
Long-term property value
Investor-friendly policies
Easier ownership process
For those looking to expand their investment portfolio, choosing to invest in Dubai can be a smart and rewarding decision. With the right approach, investors can achieve:
Careful planning and property selection
Immediate rental income
Long-term financial success
Participation in one of the best places to invest in real estate
A house is more than just a place to reside.It is where routines take place, where you begin and finish your day, and where comfort is most important. Many people try to improve their homes by buying new furniture or decoration items, but they often do not see real improvement because they miss the basics of good styling. This is where interior styling tips become important.
Interior styling is not about filling a space with things. It is about using what you have in a better way and making choices that improve both appearance and function. A well styled home feels open, calm, and easy to use.It doesn’t feel congested or unclear. Every nook feels deliberate, and every object serves a function.
In the United States, homes come in many sizes and layouts. Some are small apartments, others are large family houses. But the same problem appears everywhere. People struggle to balance style and function. Rooms often look good but do not work well for daily life. Or they work well but feel plain.
This guide shares 15 detailed interior styling tips for a beautiful and functional home.To put each point’s practical explanations into practice, you don’t need any design experience.These ideas will help you improve layout, lighting, furniture choice, storage, and overall flow step by step.
1. Start with a Clear Plan
Every well-designed house begins with a plan. Without proper planning, rooms often turn into a collection of random items that do not really work together. This is where simple Interior Design Tips can help you slow down and think before making changes.
Before you change anything, think about how each space is used in real life.
A living room might be used for relaxing, watching television, or hosting guests. A bedroom might need to support rest, storage, and sometimes work.
Planning also saves money. Many people buy furniture or decor items they do not actually need. A clear plan stops this habit.Because it establishes direction before action, this is one of the most crucial interior styling suggestions.
2. Keep Your Layout Open
Most people are unaware of how much layout influences a room’s atmosphere. Inadequate furniture placement can make even a huge space appear small. This is where home styling really matters because small placement choices can change the whole feel of a space.
Remember to move. There shouldn’t be any obstructions in your way as you move across the space. Avoid blocking natural pathways with large furniture pieces.
Open layouts also help air and light move more freely through a space, which makes everything feel more comfortable and relaxed. One of the simplest interior styling tips is to avoid overcrowding your rooms, especially if your home is on the smaller side. When space is limited, keeping things open and uncluttered can make a big difference in how your home looks and feels.
A simple layout often looks better than a complicated one. When the layout is clean, everything else becomes easier to style.
3. Use a Simple Color Palette
Color has a strong impact on mood.Too many colors usually end up making a room feel a bit messy and hard to settle into. When everything is different, the space just loses its calm feeling.
It’s easier when you stick to one main color and then maybe one or two softer shades around it. Colors like white, beige, gray, or soft brown work well because they don’t fight for attention and they go with almost anything.
Open layouts also help air and light move more freely through a space, which makes everything feel more comfortable and relaxed. One of the easiest interior styling tips is to avoid overcrowding, especially in smaller homes where space is already limited. Keeping things open can really change how the room feels. And if you want to add some personality, you don’t have to go overboard small touches like cushions, a rug, or a bit of wall art are more than enough. It keeps the space interesting without making it feel too busy or loud.
It also helps more than most people realize when the same colors are used in a few different locations. It quietly pulls everything together so the room feels more settled without trying too hard.
This creates visual connection and harmony.
4. Let Natural Light In
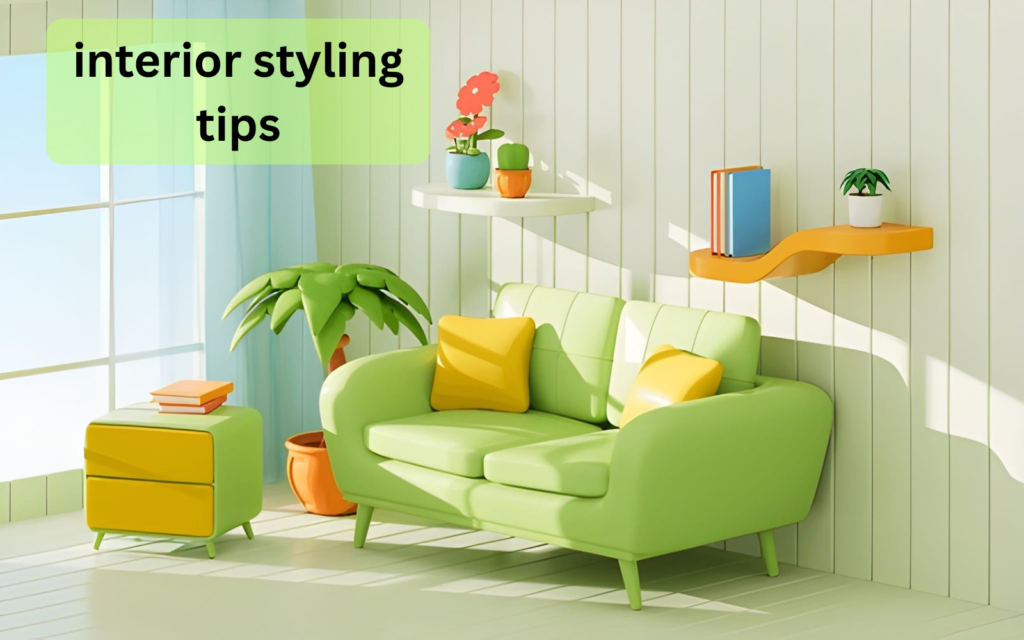
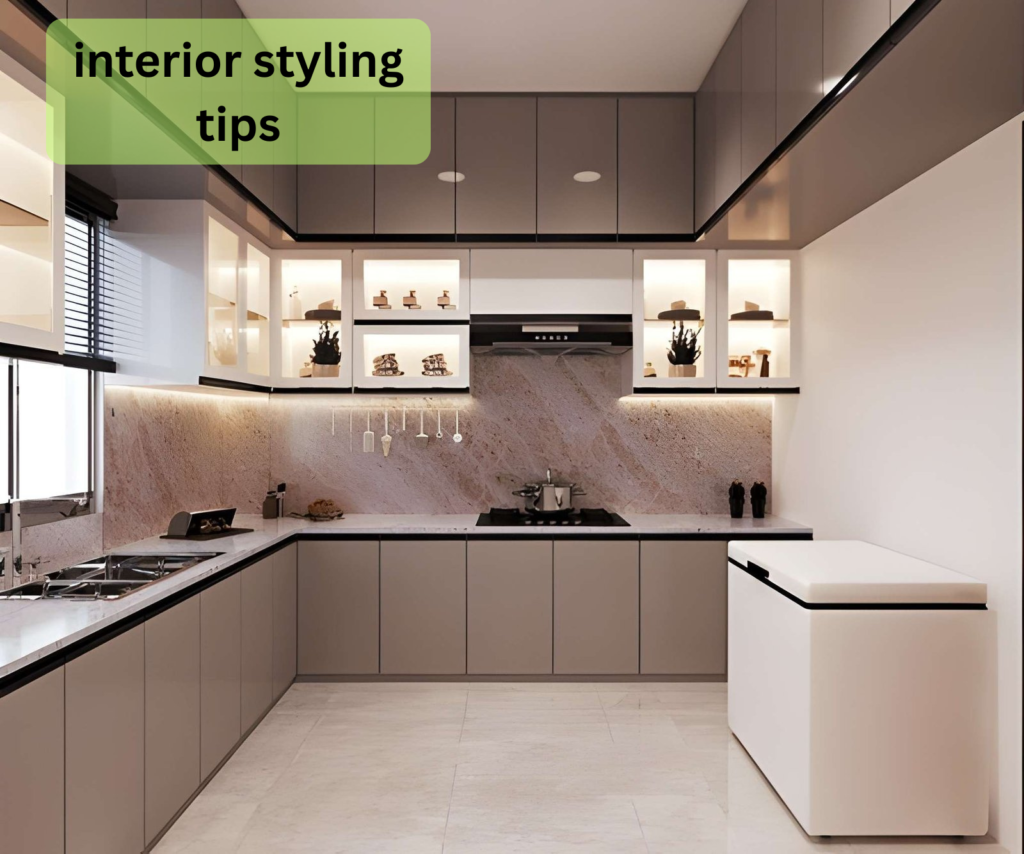
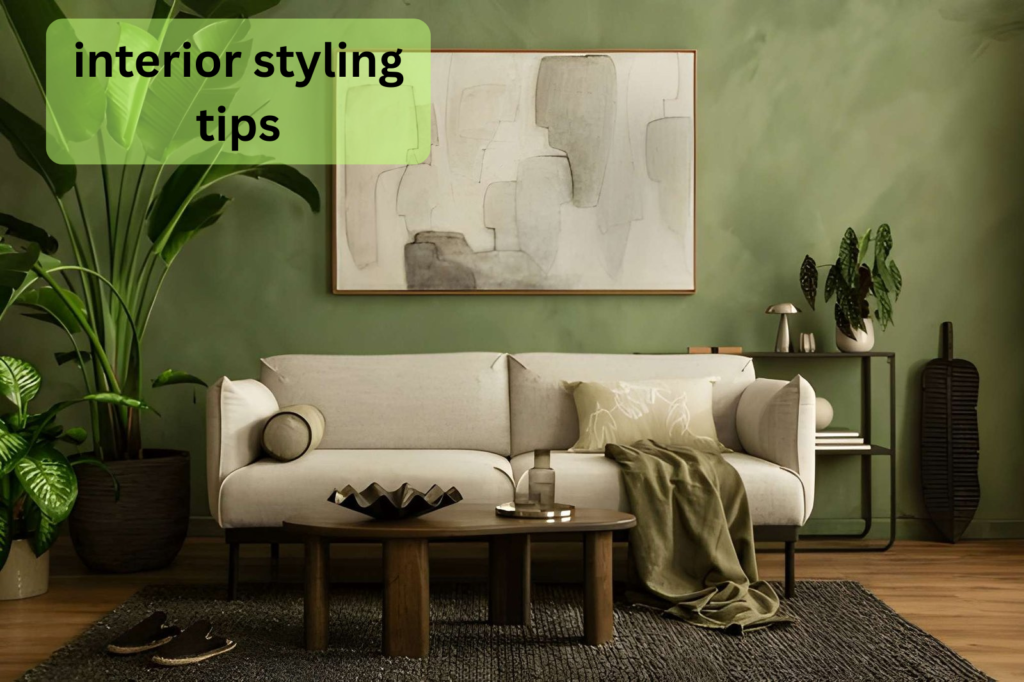
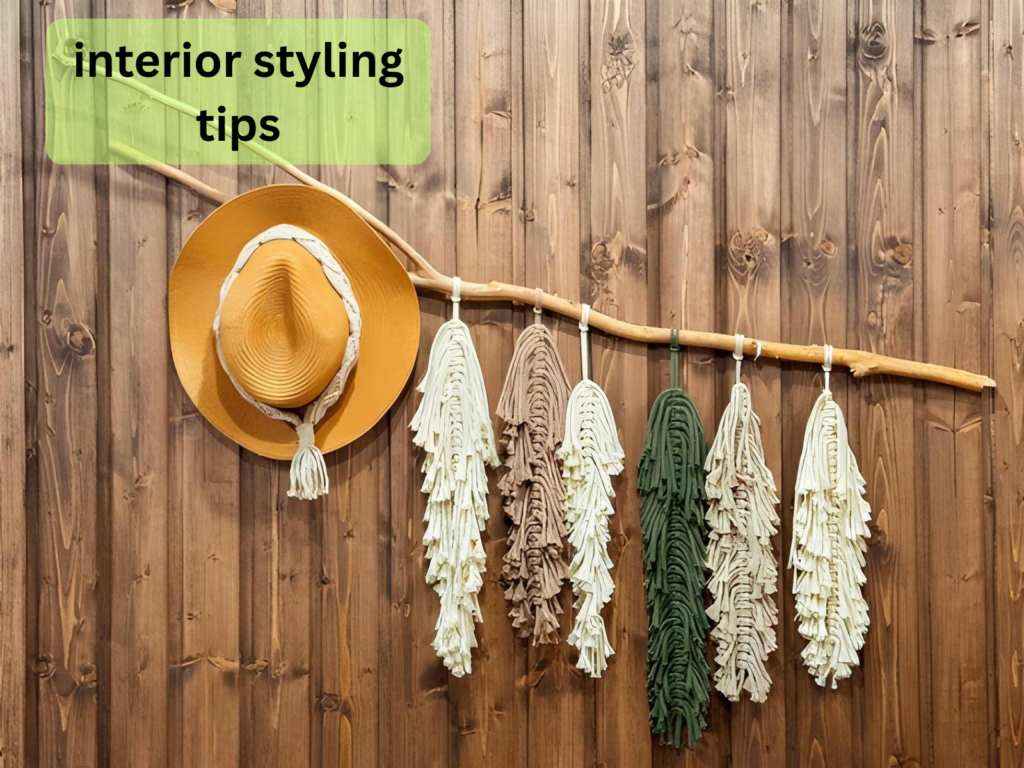
interior styling tips
Natural light improves both appearance and mood. A bright room feels larger, cleaner, and more welcoming.
Keep windows as open as possible. Heavy curtains block light and reduce the feeling of space. Light fabrics or adjustable blinds work better. Simple interior decoration usually focuses on using natural light first before adding anything extra, because it instantly improves how a room looks and feels.
Use light wall colors and reflective surfaces. Mirrors are especially useful because they bounce light around the room.
Natural light is one of the cheapest and most powerful ways to improve home design.
5. Layer Your Lighting
A single light source is not enough for a well designed space. Different activities need different lighting levels.
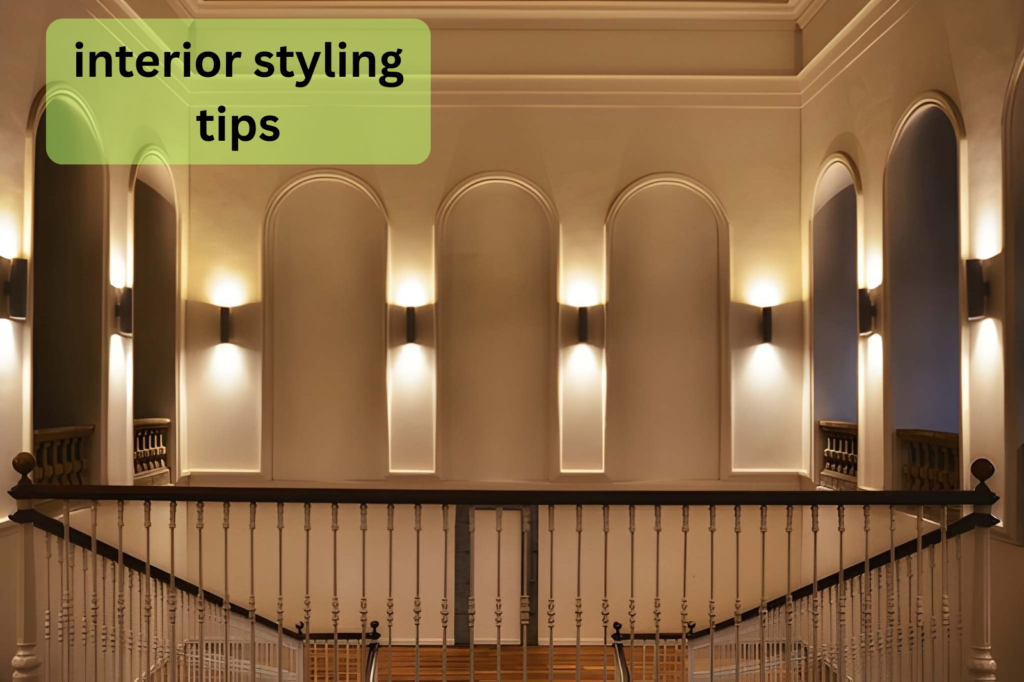
Ceiling lights give overall brightness. Table lamps make the room feel softer and more relaxed. Task lighting helps when you are reading, cooking, or working.
Simple home decor ideas like adding warm lamps in corners or using soft lighting instead of harsh white bulbs can change the mood of a room without much effort.
When you combine these layers, the room becomes more flexible.
6. Choose the Right Size Furniture
Although it is frequently disregarded, furniture size has a significant influence on design. It is claustrophobic to have large furniture in a small space. Small furniture in a large room feels disconnected.
Prior to making any purchases, always measure your space. Think about how each item will be used in daily life.
For example, a sofa should fit the number of people who use it regularly.
A table should match the room size and movement flow.
Proper scale is one of the most practical interior styling tips for creating balance.
7. Add Texture to Avoid a Flat Look
Smooth surfaces alone can make a space seem dull.Texture adds depth and makes a space more interesting without changing color.
Wood, metal, glass, cloth, and stone can all be combined. Each material adds a different feeling.
Soft textures like rugs, curtains, and cushions create warmth. Hard textures like metal or wood add structure. The balance between both creates a complete look.
8. Keep Surfaces Clean
Tables, counters, and shelves should not be overloaded. Too many objects create visual stress and make the room feel messy. This is where simple interior styling tips actually make a big difference in everyday life.
Leaving empty space is not wasted space. It helps important items stand out and gives the room a clean appearance. Clean surfaces also make daily cleaning easier and faster.
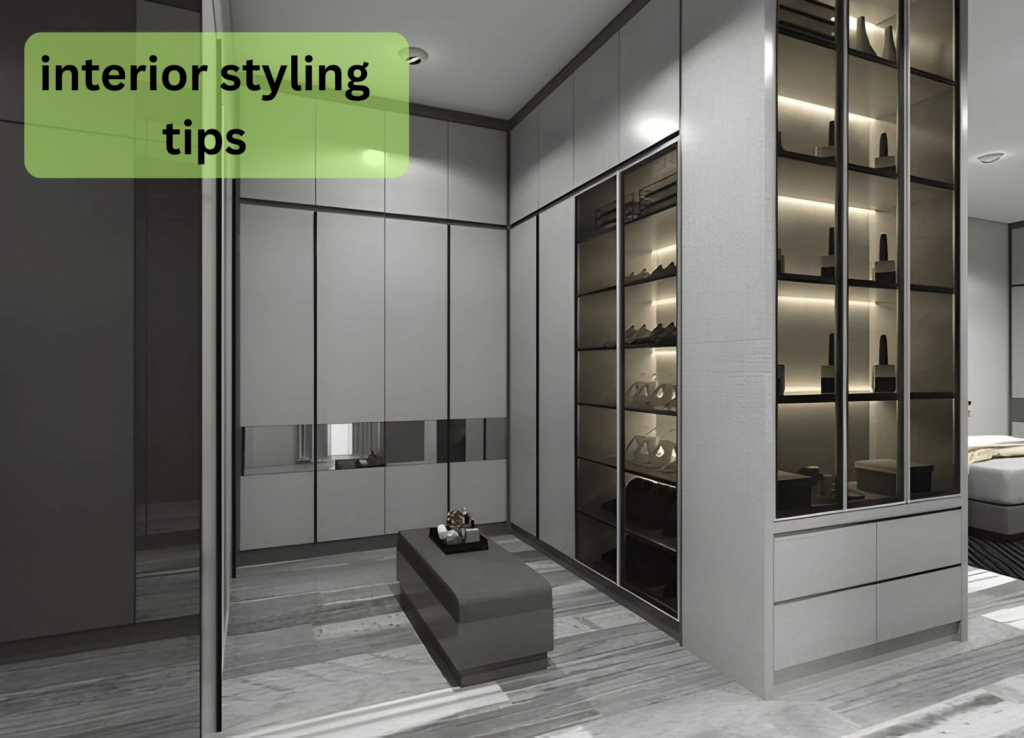
9. Use Smart Storage
Storage is not only about hiding things. It is about keeping your home functional and organized.
Furniture with built in storage is very useful. Beds with drawers or sofas with compartments help reduce clutter.
In many homes, lack of storage is the main reason for mess. Smart storage solves this problem without changing the look of the room.
10. Make Use of Walls
Walls are often ignored, but they are very useful. You can use them for shelves, storage, or decoration.
This helps save floor space, especially in small homes. It also keeps the room more open.
Wall design should be simple. Too many items on walls can feel heavy and crowded.
11. Focus on Key Areas
Every room needs a focal point. This is the main area that draws attention first.
It could be a sofa, a bed, a dining table, or artwork. Once you decide the focal point, arrange everything else around it.
A clear focal point gives structure to the room and prevents a scattered look.
12. Add Personal Items
A home should feel personal. Adding meaningful items makes the space feel warm and real.
These can include photos, books, or objects collected from travel or memories.
Even small design choices around the house can add to this feeling. People also pay attention to interior doors, because even doors can change the overall look and feel of a home when everything is meant to feel more personal and connected.
13. Choose Practical Decor
Decor should not only look good. It should also be useful in some way.
Baskets are honestly just an easy fix for clutter. Things like chargers, remotes, random bits… they just disappear into them and the place looks cleaner right away. Trays do something similar, especially on tables. Instead of everything spreading out, it keeps things in one spot. Lamps also matter more than people think. It’s not just light, it changes the mood of the room, especially at night when everything feels softer. Small stuff like this keeps a home under control without making it feel staged.
14. Upgrade Small Details
It’s funny how small things can change the whole feel of a room. Door handles, switches, even interior doors. most people don’t notice them, but your brain does.
You don’t always need big changes to make a space feel better. Sometimes just swapping these small parts makes everything feel newer. It’s one of those things you put off doing for a long time, and then you wonder why you didn’t do it sooner. It’s simple, not expensive, but it works.
15. Refresh Your Space Often
Rooms get boring when nothing changes for too long. It doesn’t have to be a full makeover though.
Just move a few things around. Change cushion covers. Shift a chair to another corner.
Sometimes you also realize the layout works better after a small change, which you wouldn’t notice if everything stayed the same.
Conclusion
At the end of the day, styling a home isn’t really about following rules or buying expensive things.
It’s more about noticing what feels off and slowly fixing it. Making little adjustments over time has a greater impact than attempting to tackle everything at once.
A good home just feels easy. Comfortable. Nothing forced. That’s really it.