An asphalt shingle roof is one of the most reliable and affordable roofing systems available for residential properties. It provides excellent protection against rain, wind, sunlight, and changing weather conditions while enhancing the appearance of a home. However, like any part of a house, an asphalt roof requires regular maintenance and occasional repairs to remain in top condition. Investing in asphalt roof repair at the right time can prevent costly damage, improve energy efficiency, and extend the life of your roofing system.
Whether your roof has suffered storm damage, developed leaks, or simply shows signs of ageing, understanding the repair process can help you make informed decisions and protect your investment.
Understanding Asphalt Roof Repair
Asphalt roof repair involves fixing damaged areas of an asphalt roofing system to restore its strength and weather resistance. Repairs can range from replacing a few missing shingles to repairing flashing, sealing leaks, or restoring sections damaged by severe weather.
The purpose of repairing an asphalt roof is to stop further deterioration while maintaining the roof’s ability to protect your home from moisture and environmental damage.
Why Asphalt Roof Repair Should Never Be Delayed
Many homeowners overlook small roofing issues because they appear insignificant. However, a loose shingle or a tiny leak can quickly develop into a major roofing problem if ignored.
Prompt asphalt roof repair provides several advantages:
- Prevents water damage inside the home
- Protects the roof structure
- Extends the lifespan of roofing materials
- Reduces long-term maintenance costs
- Improves energy efficiency
- Maintains property value
- Enhances overall home safety
Repairing problems early often saves thousands in future replacement or structural repair costs.
Common Causes of Asphalt Roof Damage
Understanding what damages asphalt roofs can help homeowners reduce future repair needs.
Harsh Weather
Storms, hail, heavy rain, snow, and strong winds are among the leading causes of roof damage. High winds may lift shingles, while hail can crack or bruise roofing materials.
Sun Exposure
Continuous exposure to ultraviolet rays gradually weakens asphalt shingles, causing them to dry out and become brittle.
Temperature Changes
Expansion during hot weather and contraction during cold weather create stress on roofing materials over time.
Moisture Problems
Poor drainage or standing water allows moisture to penetrate beneath shingles, increasing the likelihood of leaks.
Falling Debris
Tree limbs, branches, and airborne debris can crack shingles or damage flashing after storms.
Natural Ageing
Every asphalt roof experiences gradual wear as it approaches the end of its expected service life.
Signs Your Asphalt Roof Needs Repair
Recognising warning signs early allows homeowners to address issues before they become expensive.
Missing Shingles
Missing shingles expose the roof deck to rain and sunlight, increasing the risk of leaks.
Cracked Shingles
Cracks often indicate weather damage or ageing materials that require replacement.
Curling Shingles
Curling edges reduce a roof’s ability to shed water effectively.
Roof Leaks
Water stains on ceilings, damp insulation, or mould growth may indicate an active roof leak.
Granule Loss
Finding excessive asphalt granules inside gutters usually means shingles are wearing out.
Damaged Flashing
Loose flashing around chimneys, skylights, and roof vents frequently causes water infiltration.
Sagging Roof
A sagging roof may indicate moisture damage or weakened structural components that require immediate attention.
Types of Asphalt Roof Repair
Professional roofers perform various repair services depending on the condition of the roof.
Asphalt Shingle Replacement
Replacing damaged shingles restores the roof’s protective barrier while matching the existing roof design.
Leak Repair
Roof leak repair includes locating the source of water intrusion, replacing damaged materials, and sealing vulnerable areas.
Flashing Replacement
Replacing deteriorated flashing prevents moisture from entering around roof penetrations.
Ridge Cap Repair
The ridge caps protect the highest point of the roof and should remain secure to prevent water intrusion.
Roof Vent Repair
Properly functioning roof vents improve attic ventilation while preventing leaks around vent openings.
Sealant Application
Professional-grade sealants provide additional protection around exposed roofing components.
How Seasonal Weather Affects Asphalt Roofs
Each season creates different challenges for asphalt roofing systems.
Spring
Heavy rainfall may reveal hidden leaks that developed during winter.
Summer
Extreme heat and prolonged sunlight accelerate shingle ageing and granule loss.
Autumn
Leaves and debris clog gutters, preventing proper drainage and increasing moisture retention.
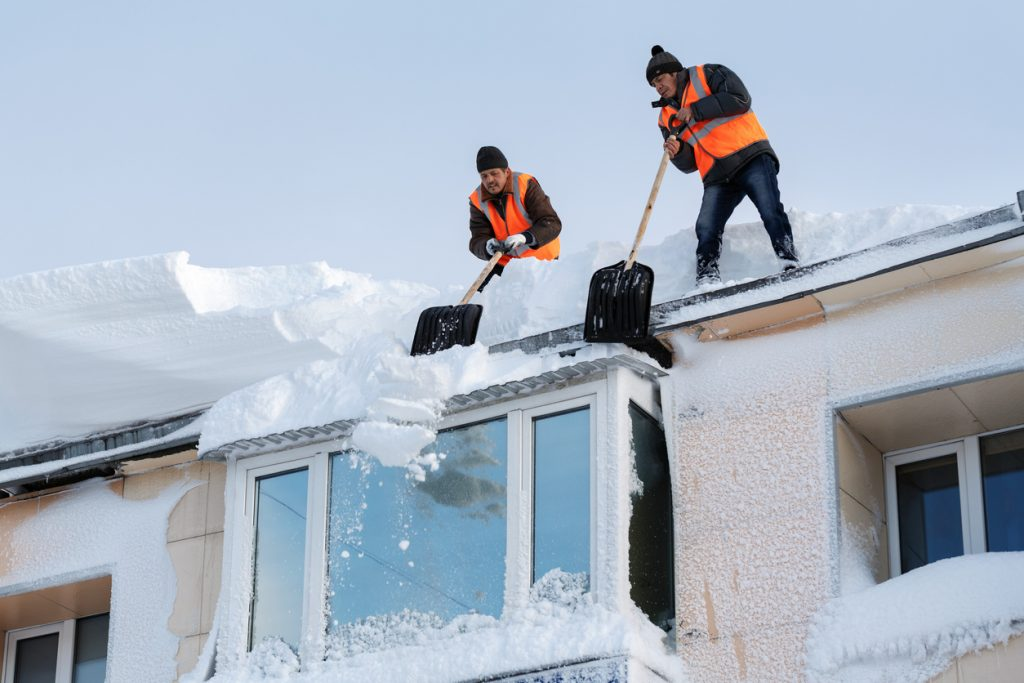
Winter
Snow, ice, and freezing temperatures can cause ice dams and place additional stress on roofing materials.
Performing seasonal inspections helps identify problems before they become serious.
Preventative Maintenance for Asphalt Roofs
Regular maintenance is one of the most effective ways to minimise repair costs.
Inspect Your Roof Regularly
Check your roof at least twice each year and after severe weather events.
Keep Gutters Clear
Clean gutters allow rainwater to drain properly and reduce the risk of water damage.
Remove Moss and Algae
Cleaning roof surfaces prevents moisture from remaining trapped against shingles.
Trim Overhanging Trees
Reducing nearby branches helps prevent storm damage and falling debris.
Monitor Your Attic
Inspect the attic for signs of moisture, mould, or daylight entering through the roof.
Schedule Professional Inspections
Annual roofing inspections often identify hidden damage before it worsens.
Asphalt Roof Repair vs Roof Replacement
Many homeowners wonder whether repair or replacement is the better option.
Repair is generally recommended when:
- Damage is limited to a small area.
- The roof remains structurally sound.
- Only a few shingles require replacement.
- Flashing damage is isolated.
- The roof is still within its expected lifespan.
Replacement may be more practical when:
- Damage affects large sections of the roof.
- Multiple leaks continue appearing.
- The roof has reached the end of its service life.
- Structural components have deteriorated.
- Previous repairs are no longer effective.
A professional inspection helps determine the most cost-effective solution.
Benefits of Professional Asphalt Roof Repair
Choosing experienced roofing professionals offers several advantages.
Thorough Inspection
Experts identify both visible and hidden roofing problems.
High-Quality Materials
Professional repairs use durable roofing materials designed for long-lasting performance.
Improved Safety
Roof repair involves working at heights, making professional safety practices essential.
Reliable Workmanship
Experienced roofers complete repairs using industry-approved techniques that improve durability.
Greater Peace of Mind
Knowing your roof has been repaired correctly reduces future concerns about leaks and weather damage.
How Asphalt Roof Repair Protects Your Investment
A roof is one of the most valuable components of any home. Maintaining it through timely repairs helps protect the entire property.
Well-maintained roofs offer:
- Better weather protection
- Lower repair costs over time
- Increased energy efficiency
- Improved home appearance
- Higher property value
- Longer roof lifespan
Routine care ensures the roof continues performing efficiently for many years.
Conclusion
Regular asphalt roof repair is essential for preserving the strength, appearance, and reliability of your home’s roofing system. From replacing damaged shingles and repairing flashing to fixing leaks and preventing moisture intrusion, timely repairs protect your home from costly structural damage and extend the life of your roof.
By combining routine inspections, preventative maintenance, and professional repair services, homeowners can maximise the performance of their asphalt roofs while reducing long-term expenses. Addressing roofing issues early not only safeguards your property but also provides lasting peace of mind, knowing your home remains protected throughout every season.